DIY calligraphy coffee mug
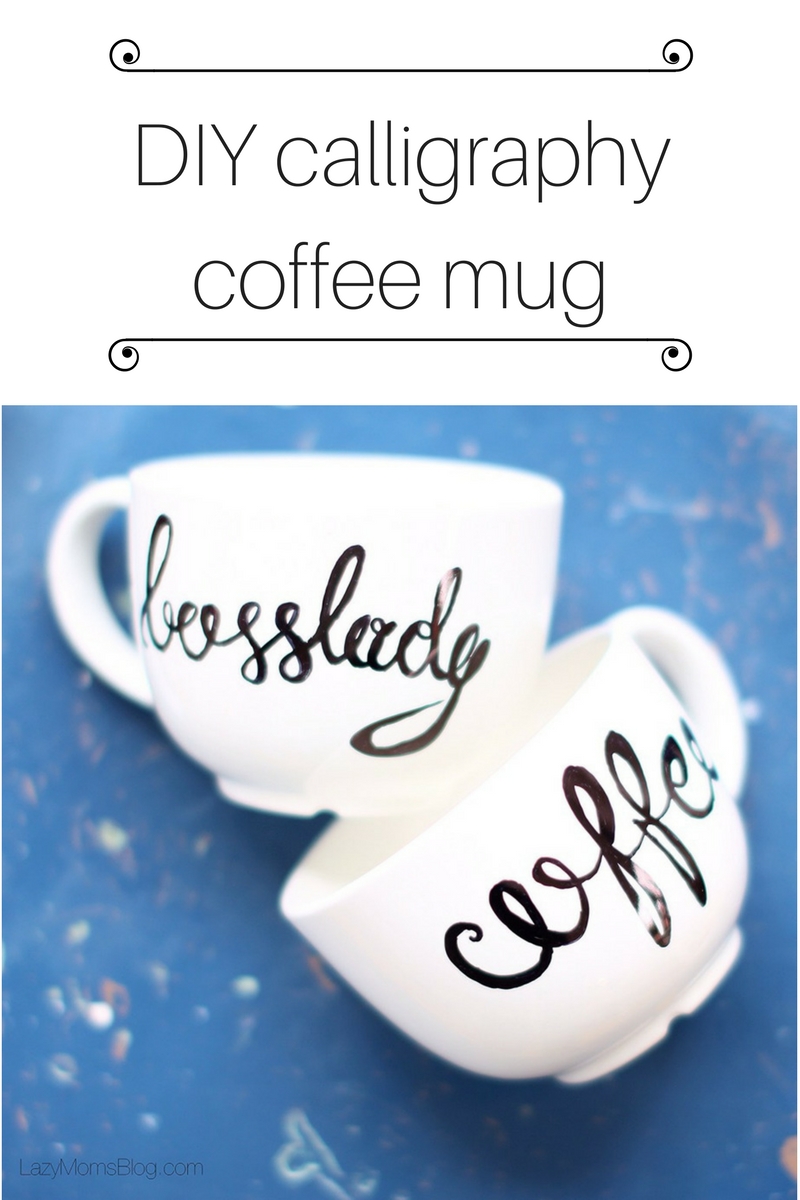
“All you need is love and a cup of coffee”
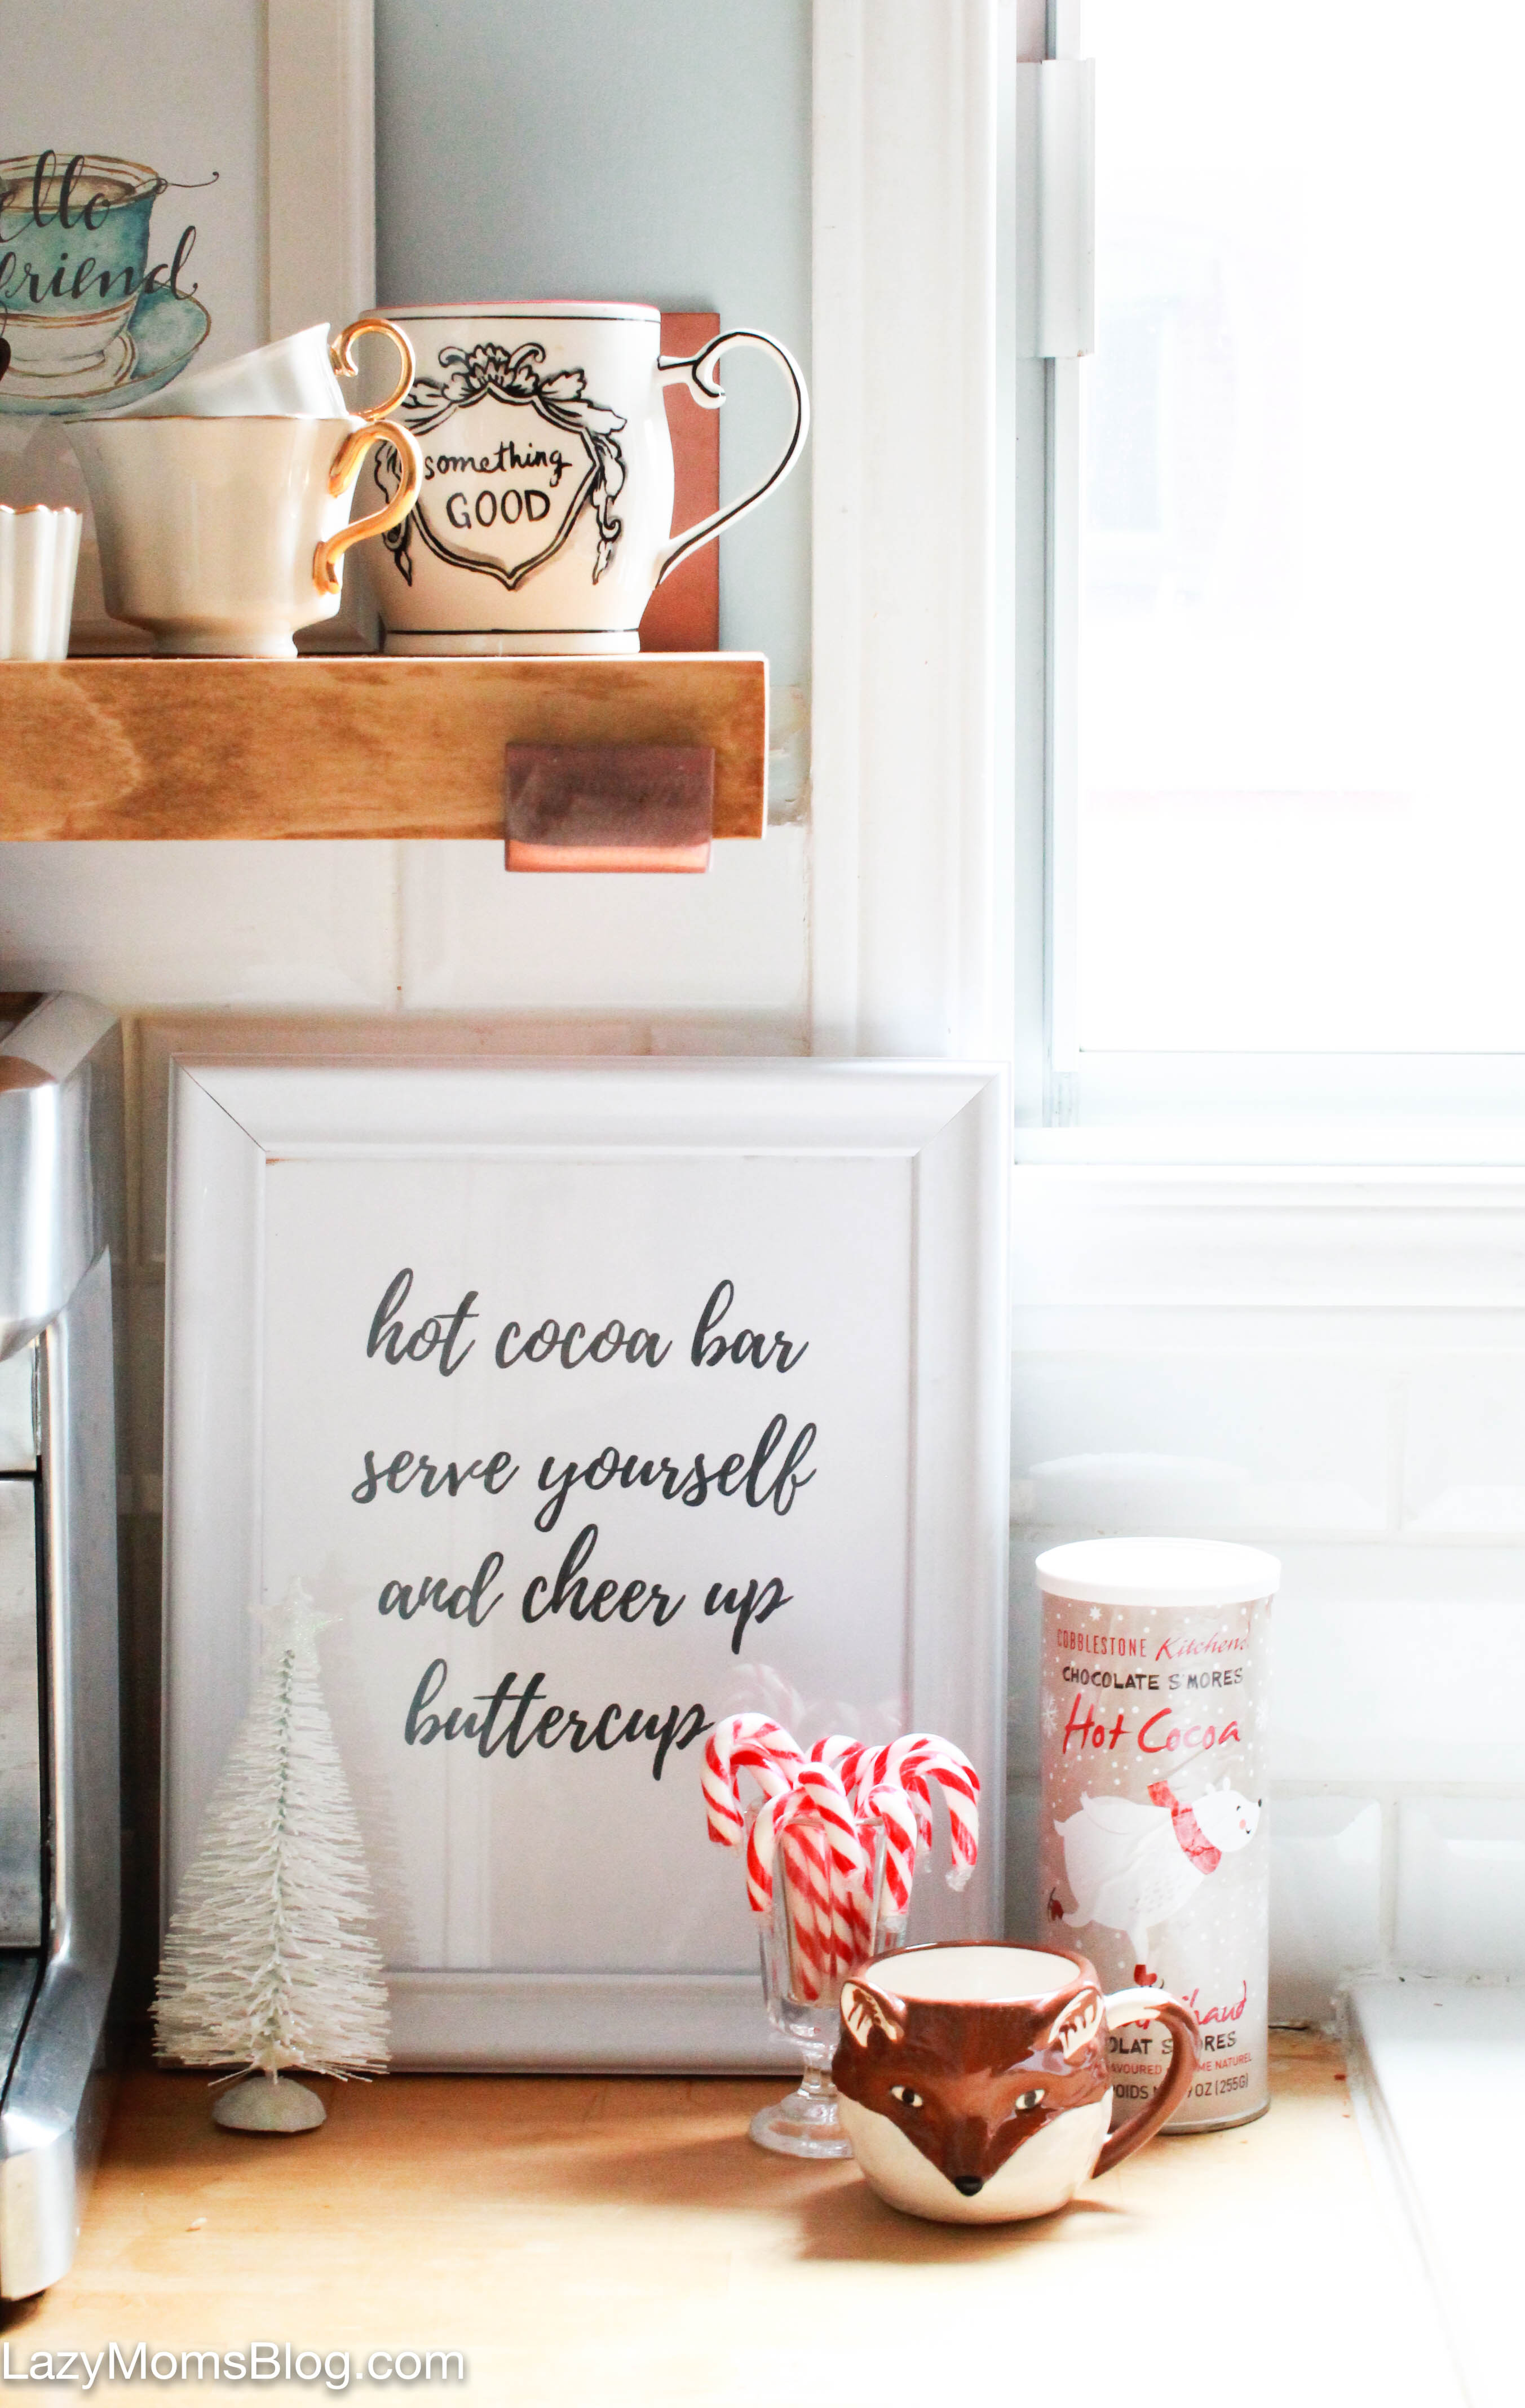
Are you a coffee lover like I am? Would you like to have a new coffee mug every month? I know I do! And with each season kicking in, I automatically feel the need for an adequate and new coffee mug. I’d love to have a different mug for a different state of mind, like the ” Hello gorgeous” and “Great things will happen” mugs for the days when I need encouragement, and the “Nope” for the days when I need to send out a clear message to the universe. Also, let’s not forget the monogrammed mugs, as they make for a great littlle gifts!
And with mothers day arunf the corner, I’m sure you started thinking about diy gift ideas, didn’t you?
So with a clear addiction to pretty mugs I needed to find a way to save my budget from this craziness. And here’s where the DIY sharpie coffee mug saves the day! They are really easy to make, and the possibilities are simply endless!

So I have made the “Hello”, “Bonjour” and a monogram “M” coffee mugs as gifts for my mom and my sweet friends, and a “#bosslady” and “sip” for me. Here’s how:
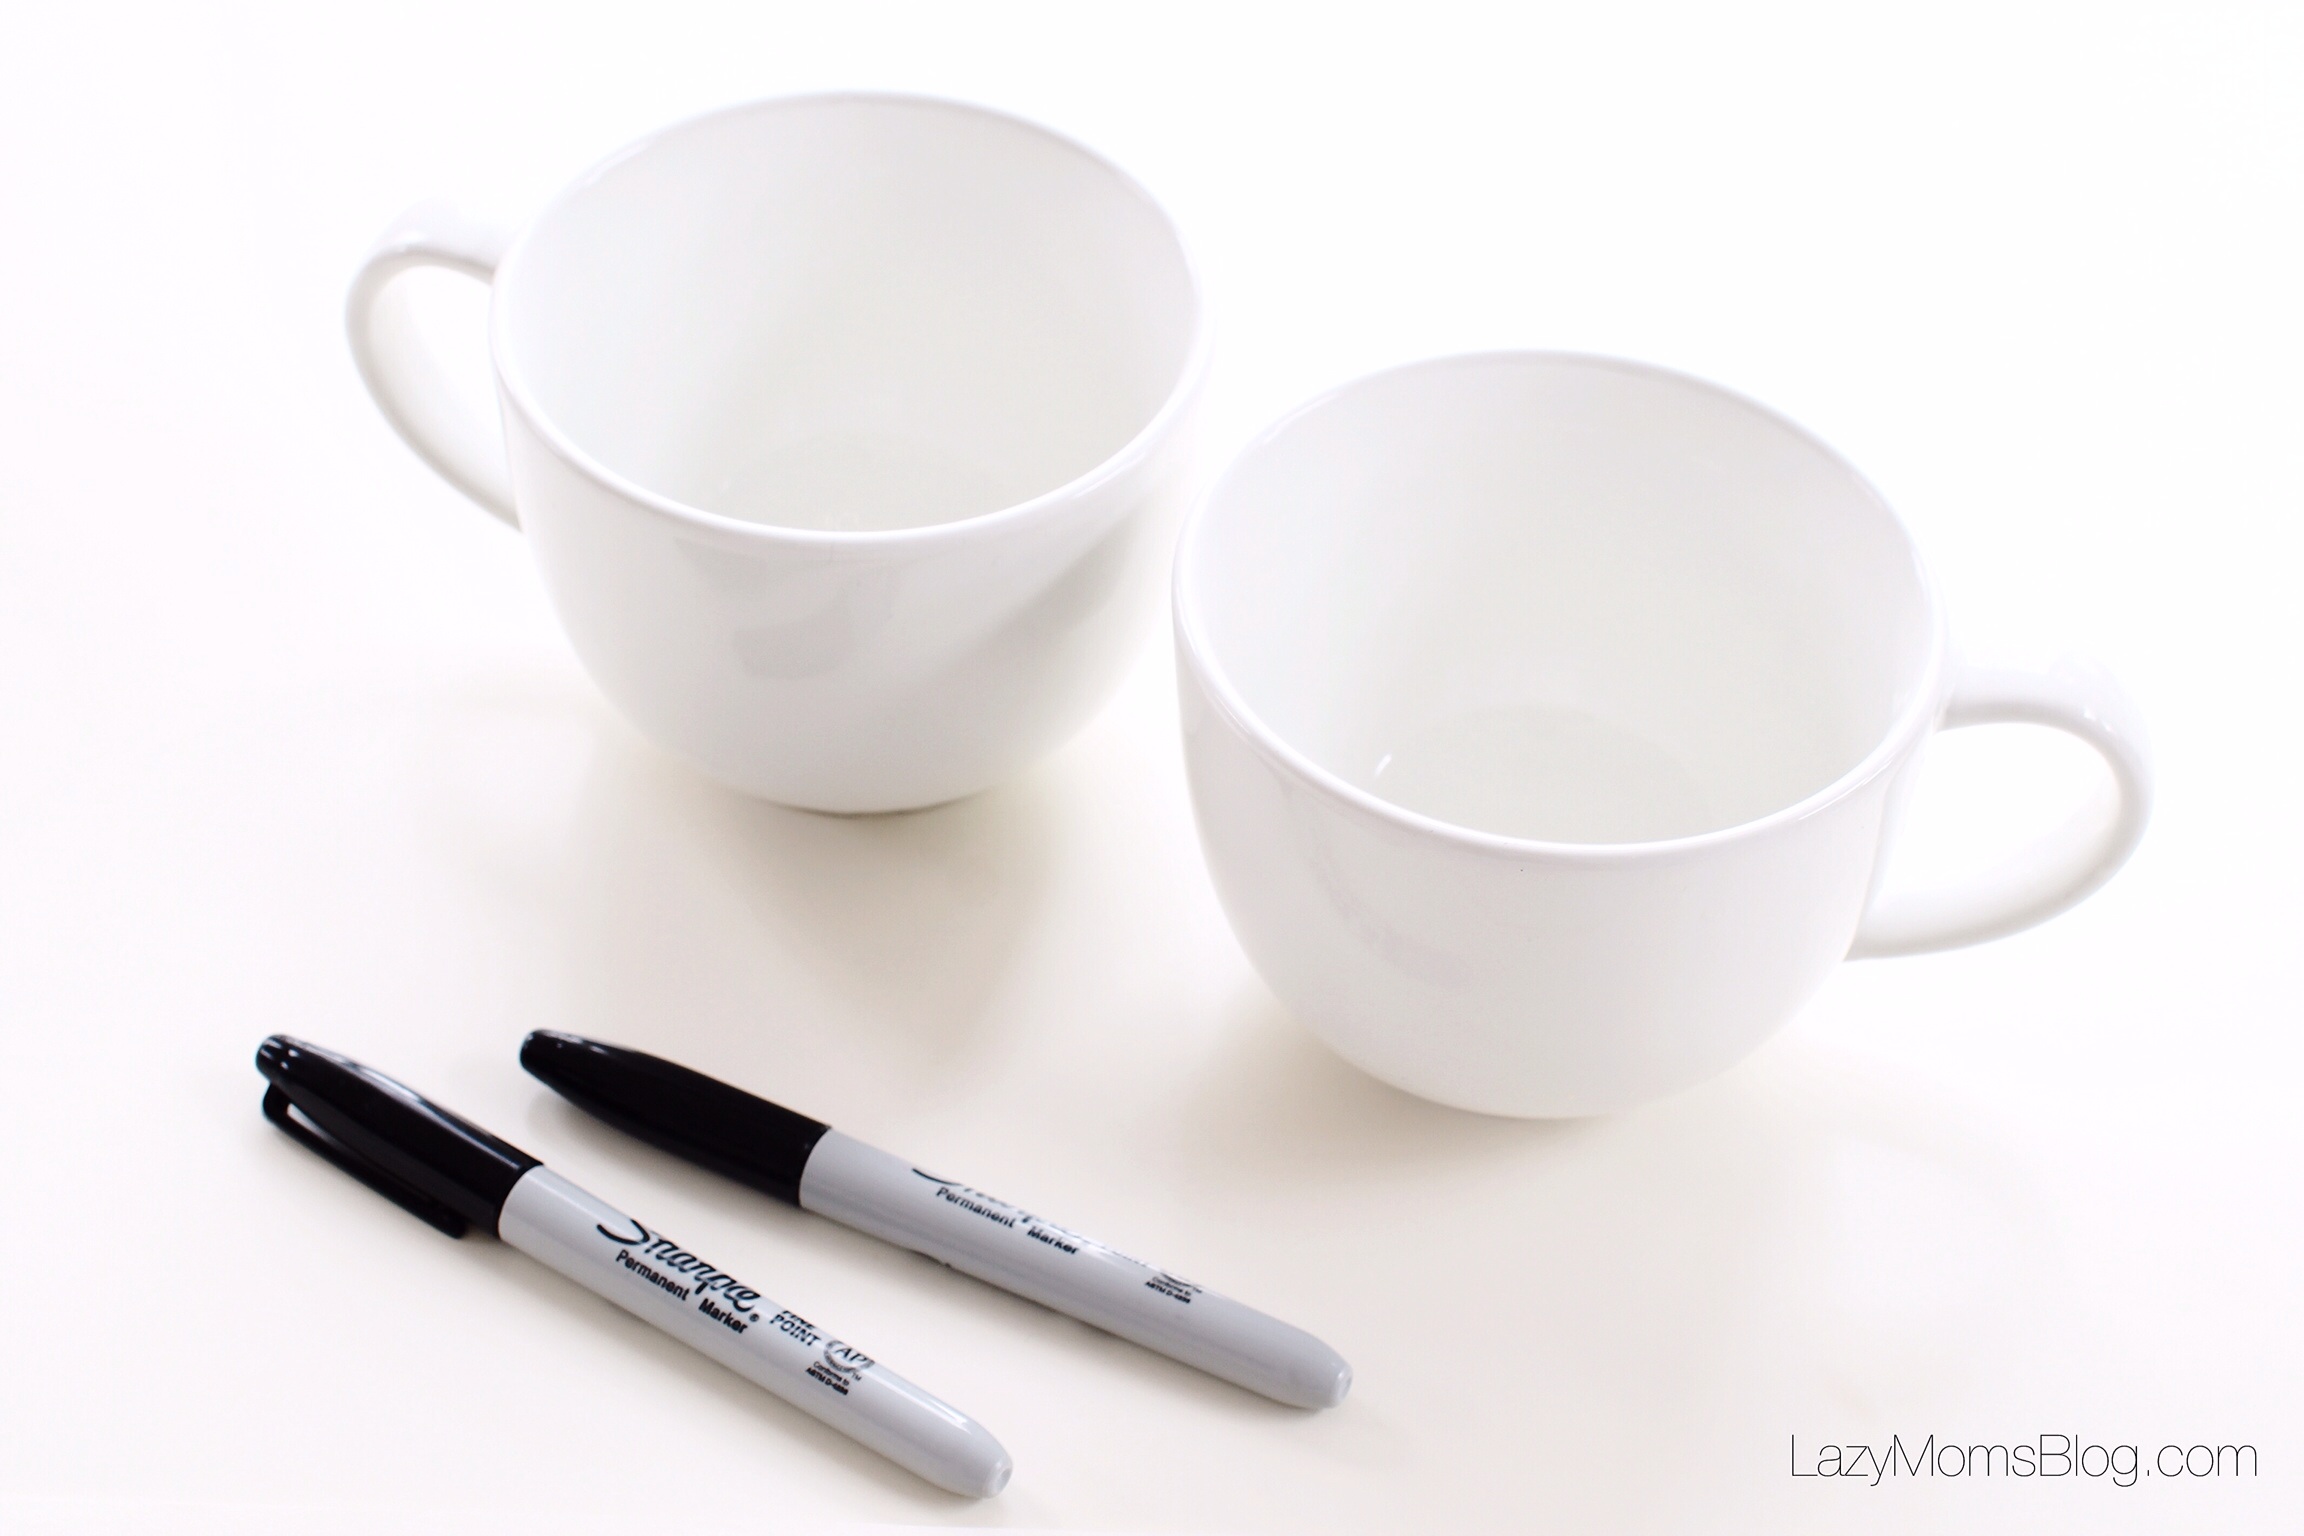
What you’ll need:
– white mug
– sharpie
– paper
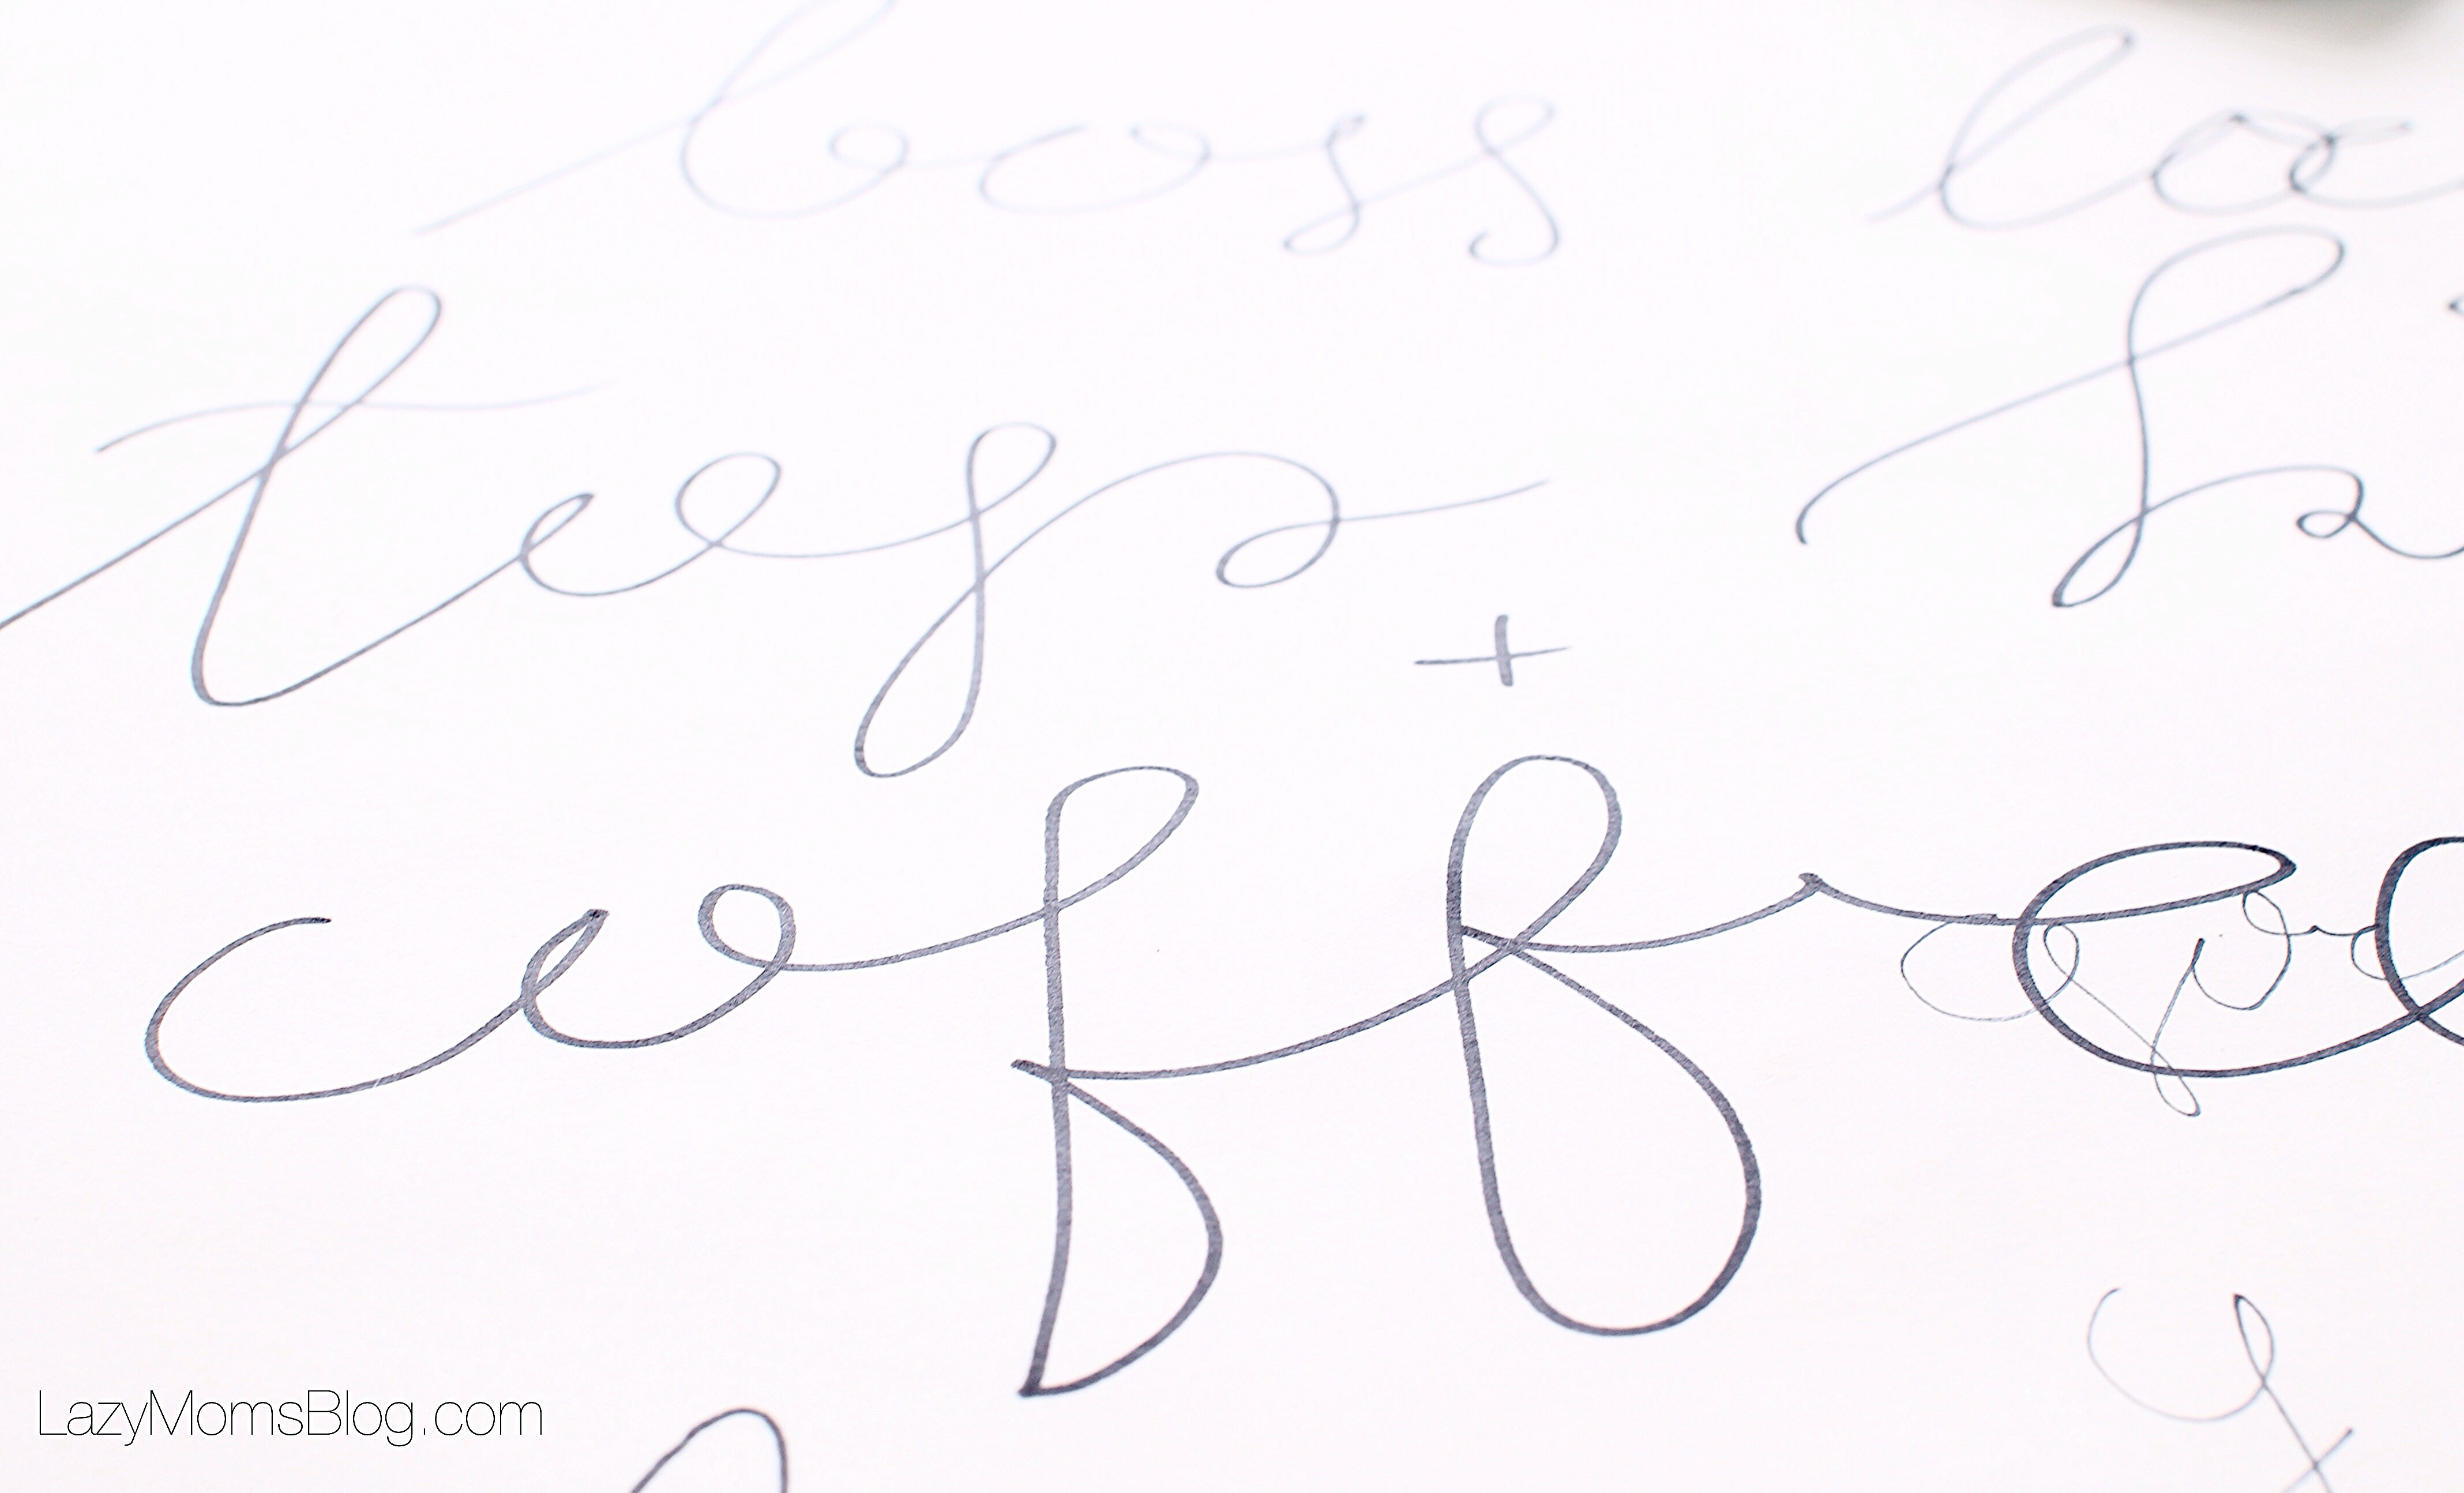
For a more natural feel of your handwriting, try writing down your word on a paper a couple of times first. That way once you’ll start tracing on a mug, your hand will be more steady.
After writing down your word , try tracing it over to give it a more calligraphy-like feel. In real calligraphy the letters are a bit thicker on one side, so you can try imitating that.
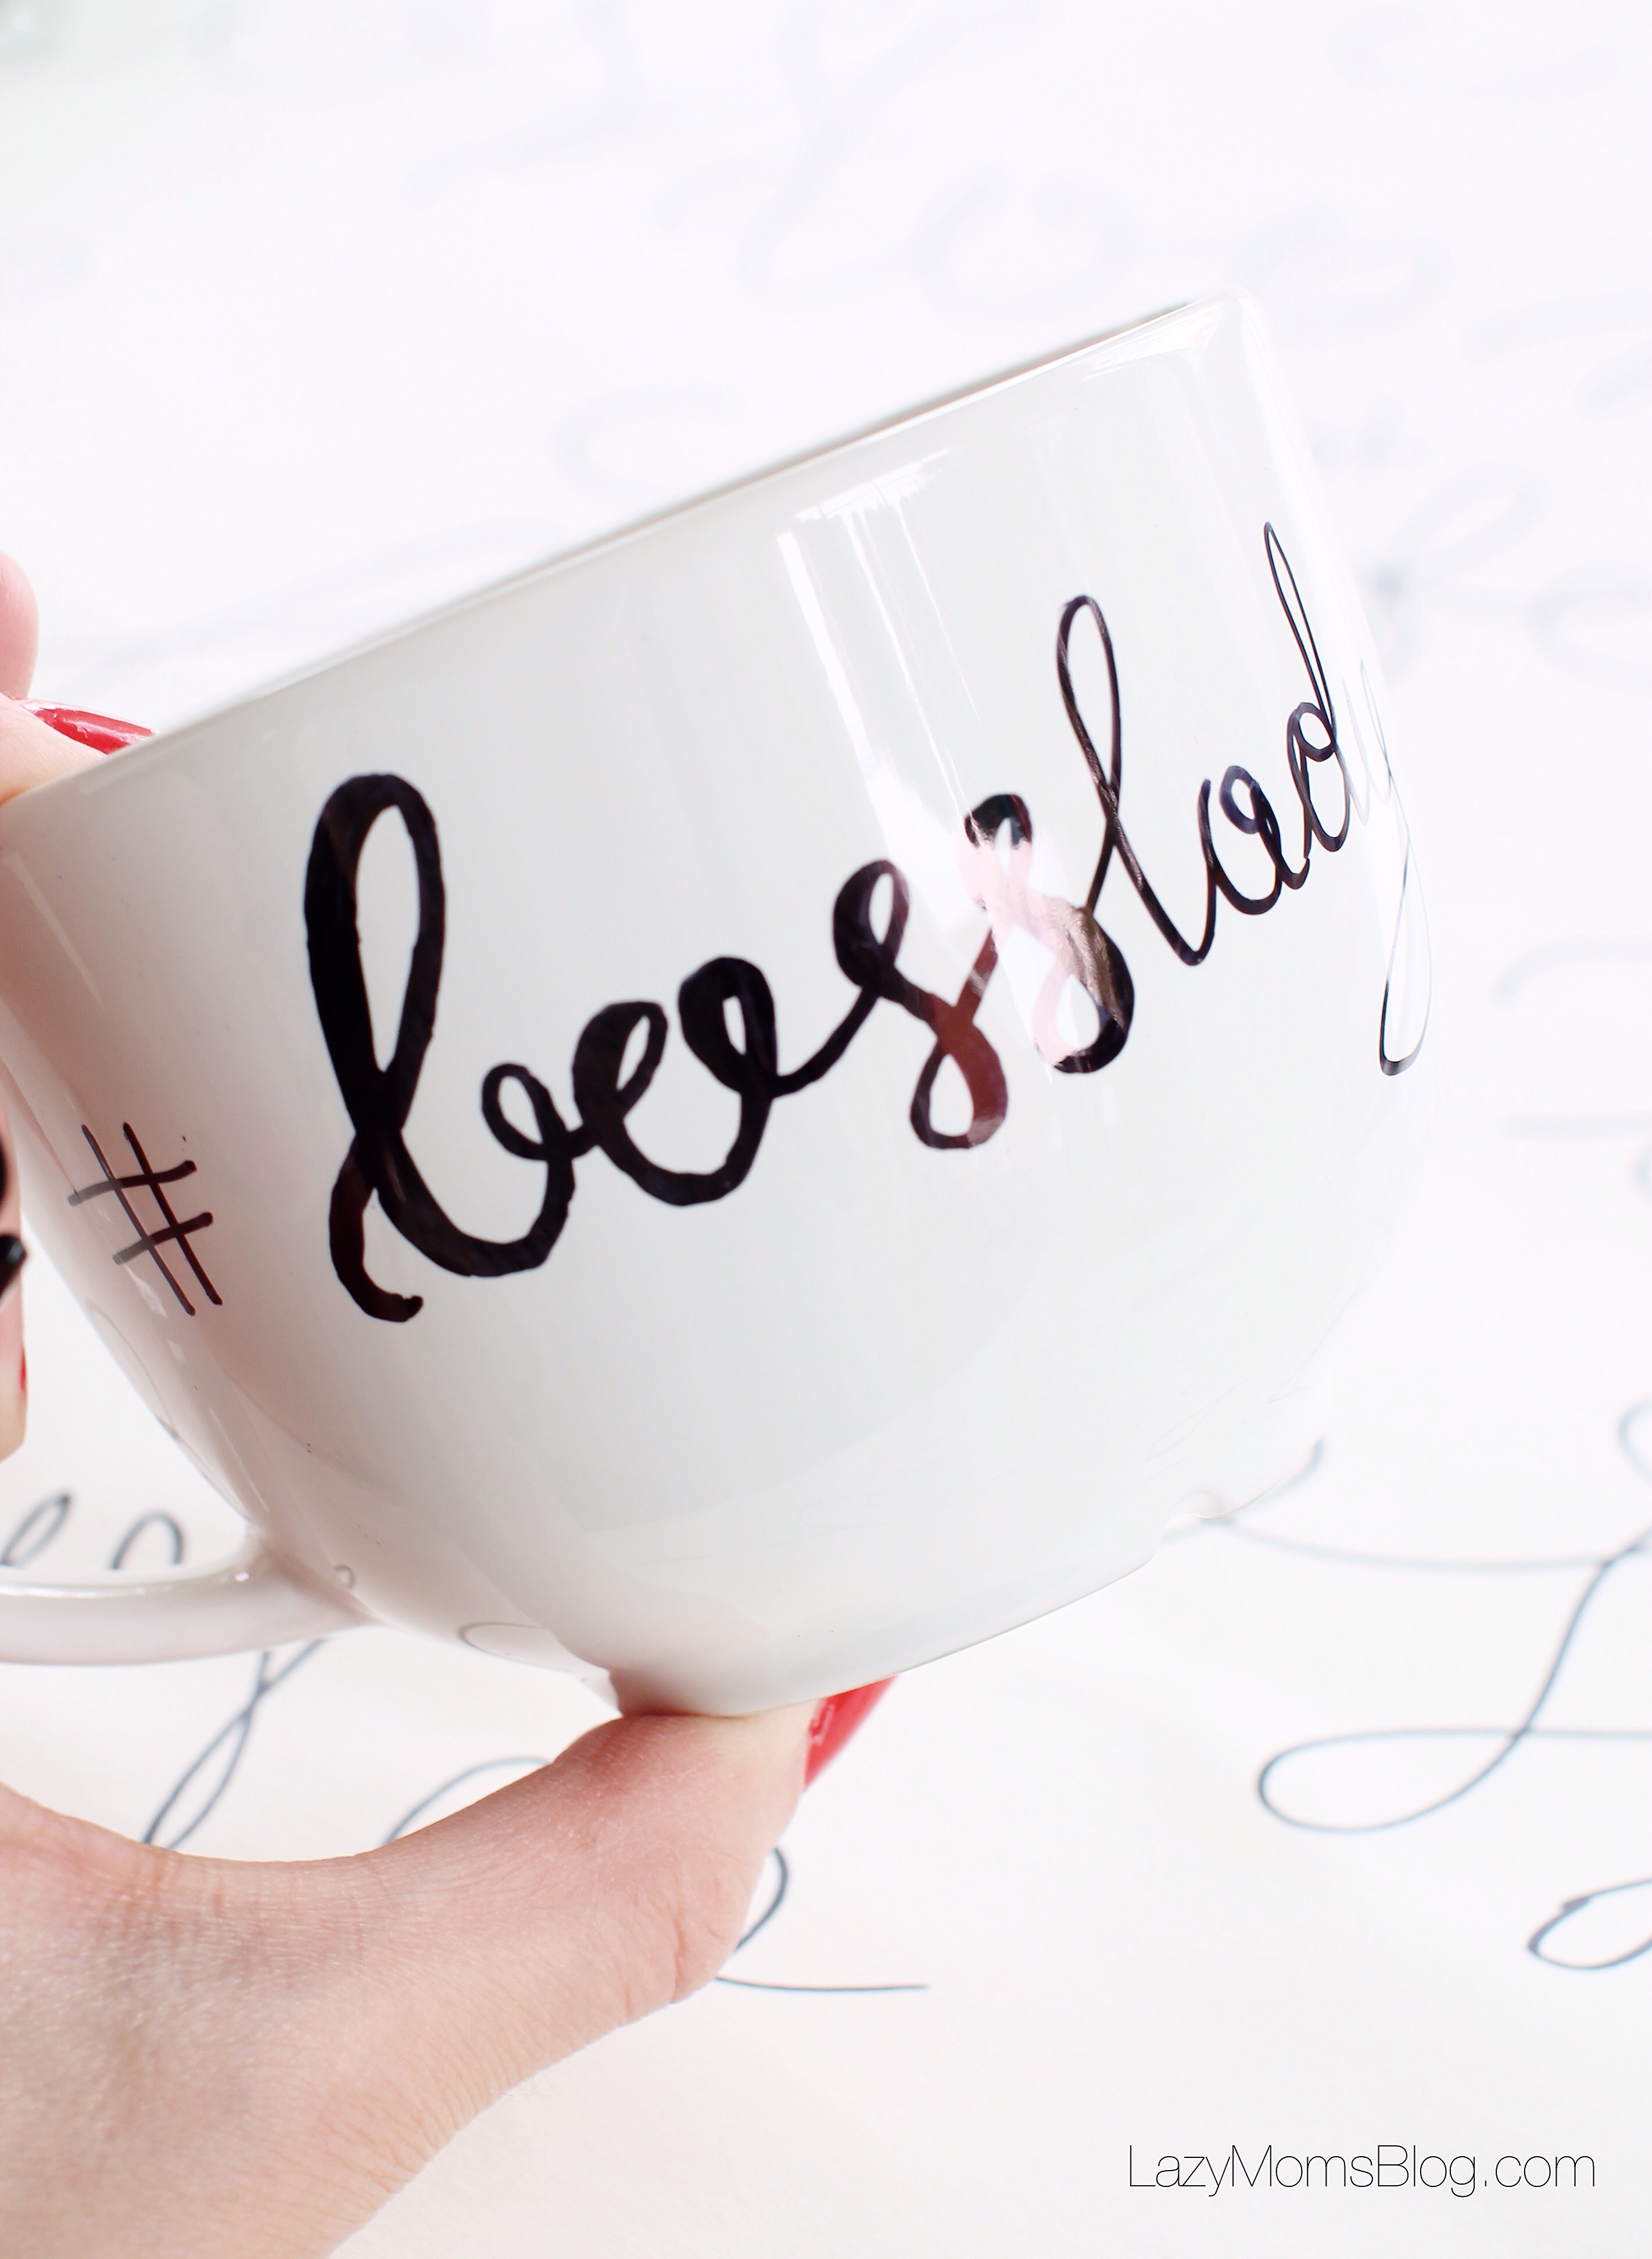
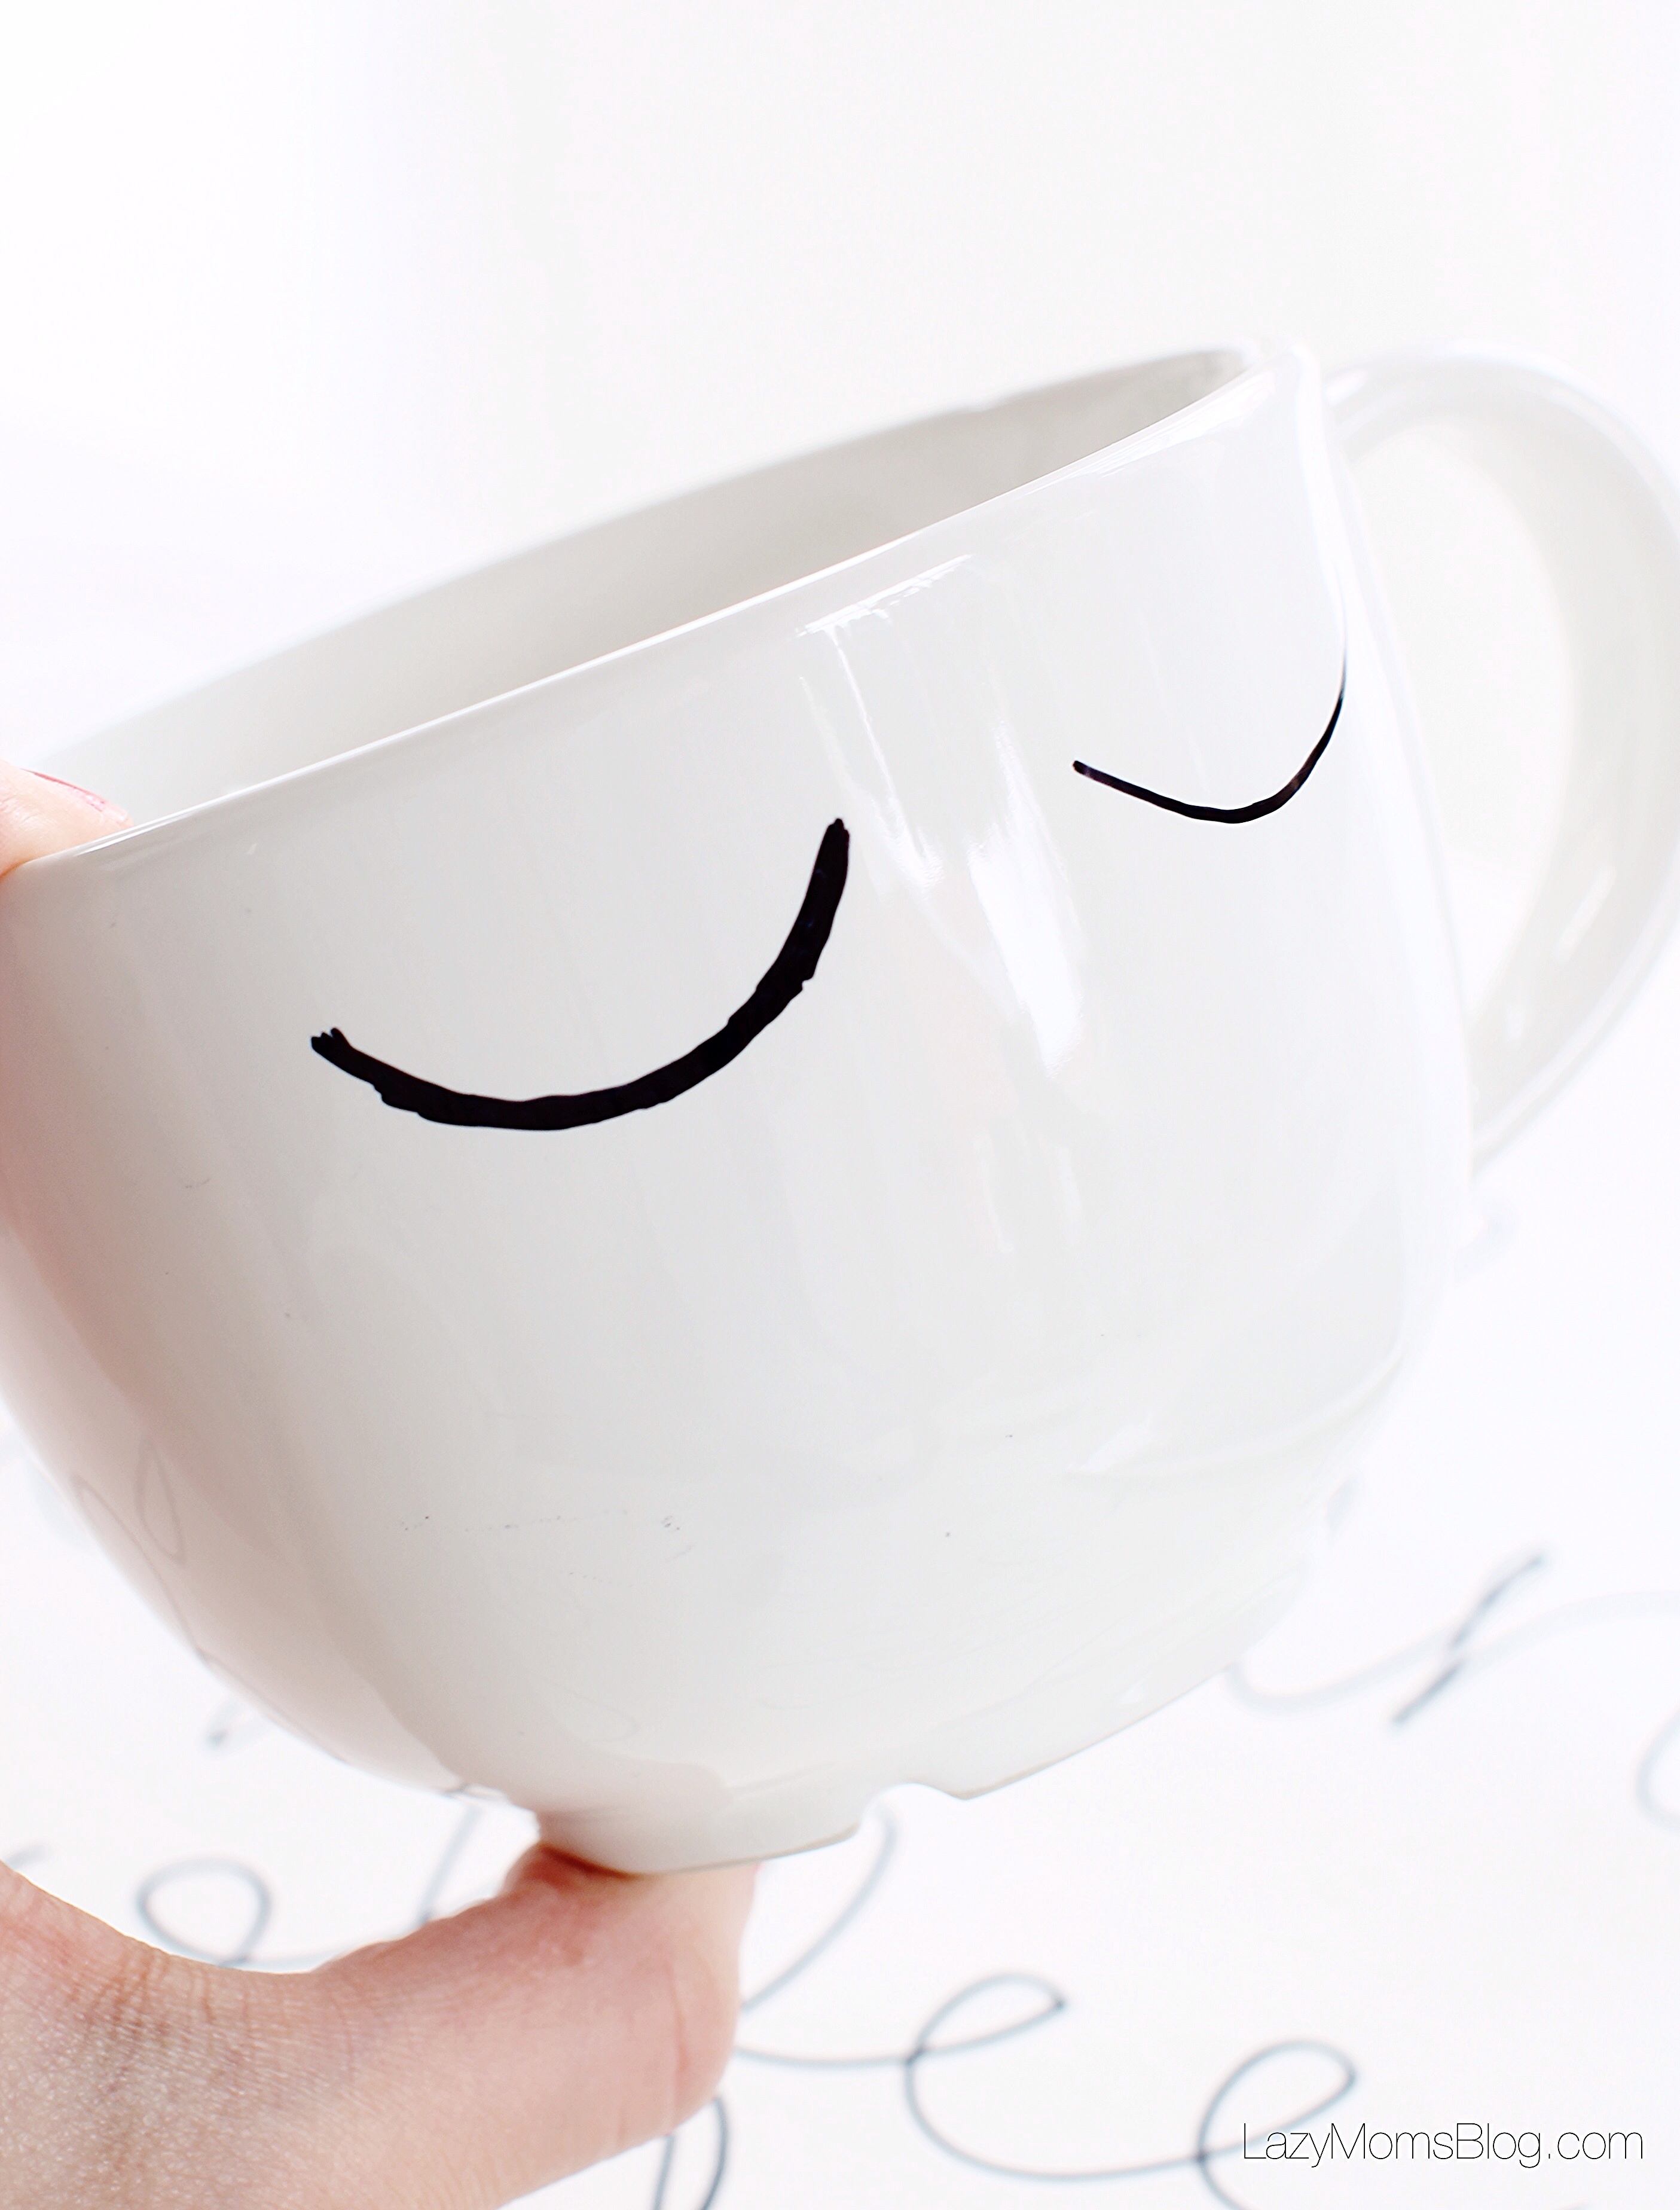
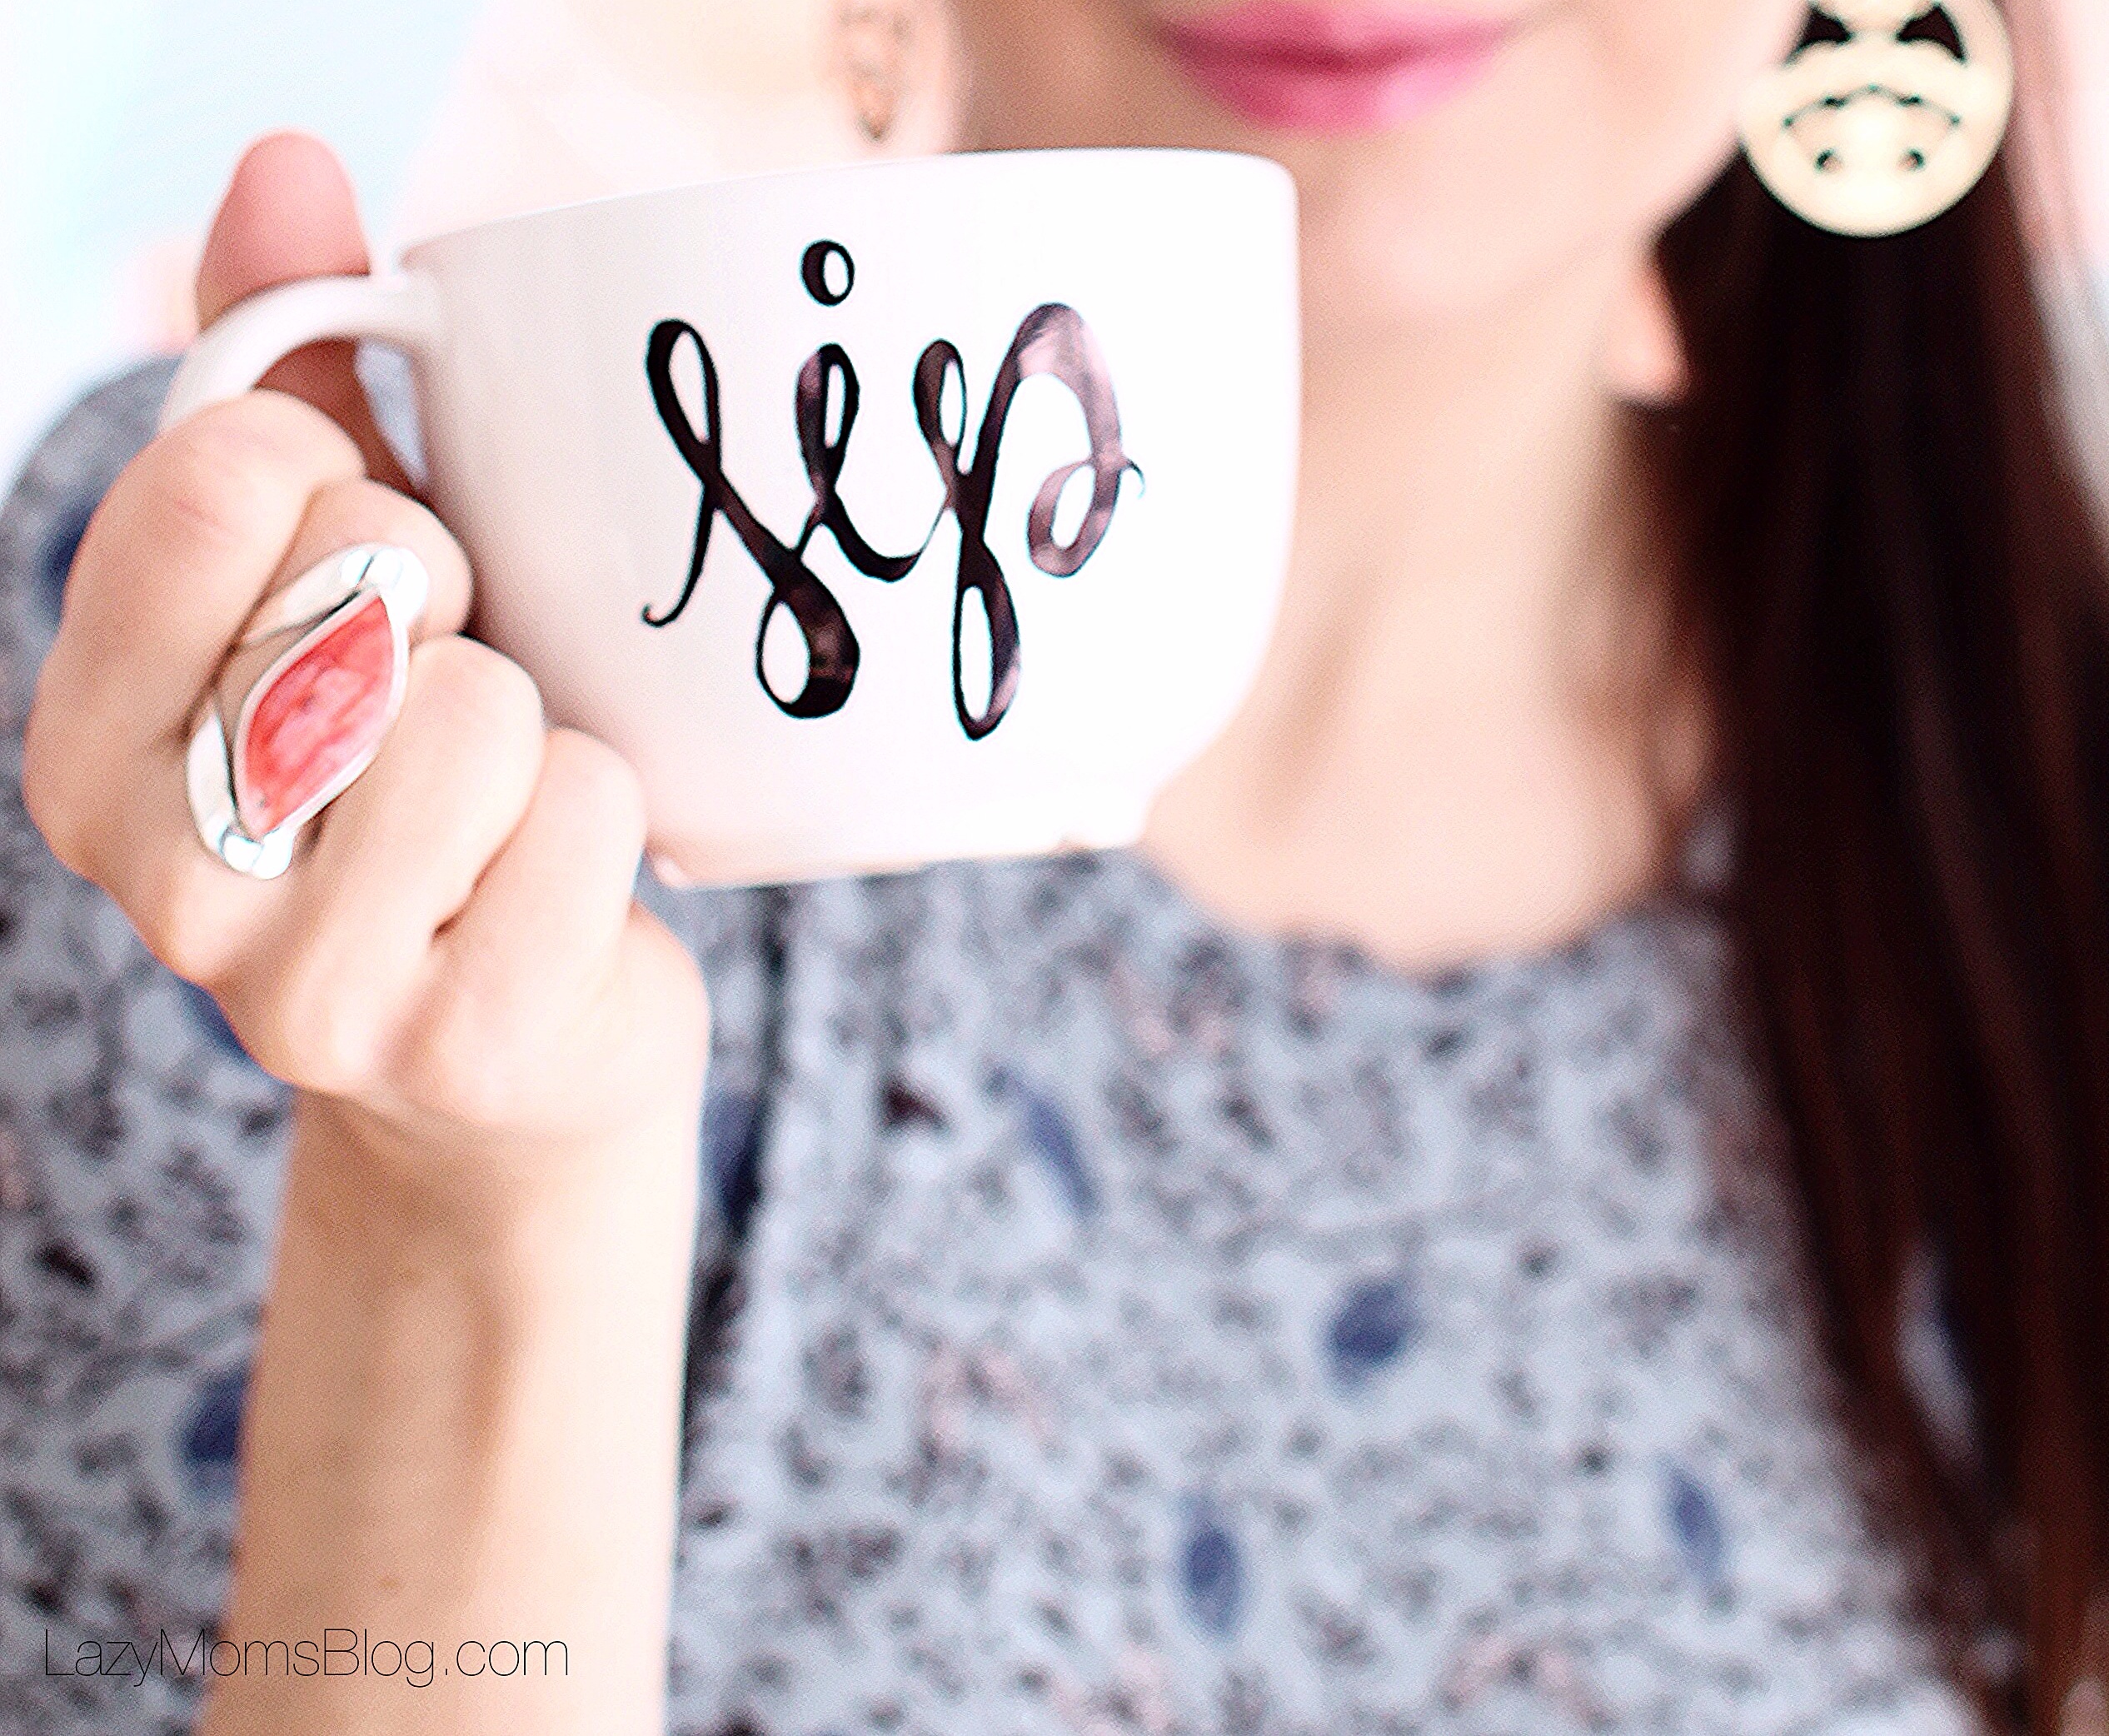
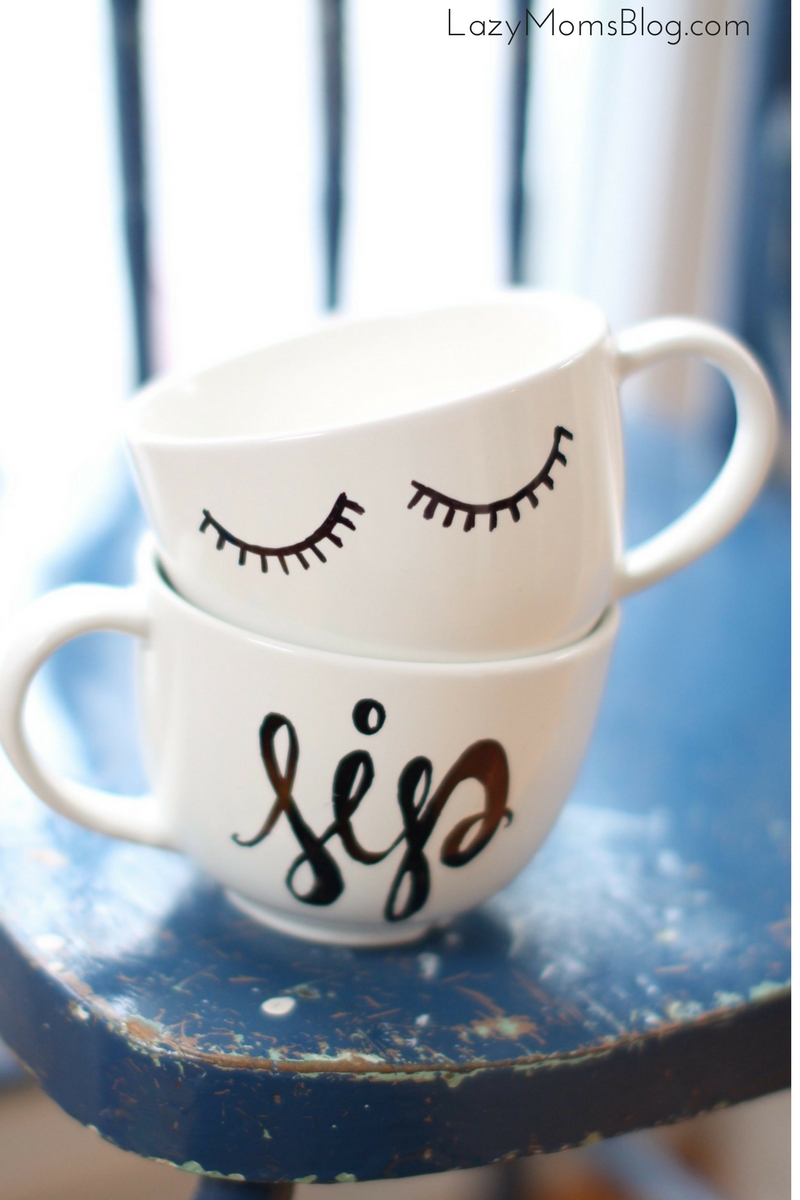
So for my self, I wanted one mug with the bosslady hashtag on one side, and a set of closed eyelashes on the other side: seriously, closed eyelashes are the easiest to paint even if you have zero artistic skills! And my second mug got a “sip” on one side and ” coffee” on the other one.
Once you’re done, leave your mugs to dry for 24 hours. I know it seems like a long time, especially they feel dry almost right away, but that’ll make them more resistant after baking.
Bake them at 300F, for 30 minutes. After that time turn the oven off, but leave your mugs in the oven so they cool down gradually.
Don’t ever put them in the dishwasher, as that will wash down the sharpie. Wash them just like a delicate porcelain, by hand, and they’ll last that way!

So, do you know what will you write on your mug?