How to make a small space feel bigger

We live in a rather small house. As soon as you get in, there’s a small entry way and the kids playroom is just on the right, and the living room on the left. And our entry way space, aside of being boring, used to be such a mess. But lately, I was craving change, and while looking at our sad entry way I was asking myself how to make a small space feel bigger. And more organized! And more personalized. So after some searching, I got to work, and today I’m sharing the result!
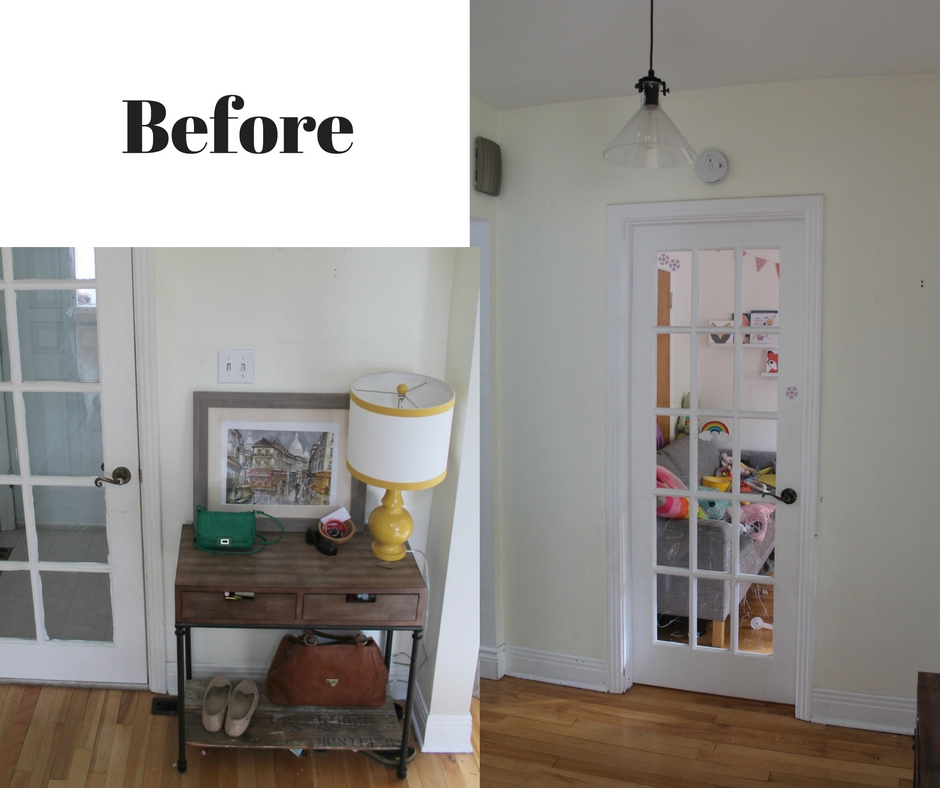
First let’s start with the very sad before photo. As you see, the space is really small.
I bought this table when I was pregnant with Rose, over three years ago, but I never really did nothing more there. The light switch above the table was annoying me, and so I couldn’t really figure this corner out.
[line]
But this past month I had a strike of inspiration, I realized I was longing for color and texture, and here’s the result:

And I even changed the wall in my girls play room.. Since it’s one of the first things you see when you come in!
So here is my recipe for making any space feeling bigger, and a little secret hack:
1. Add pattern.
Pattern adds depth to any space, so even if it’s a small space, it can greatly benefit from a bit of pattern.
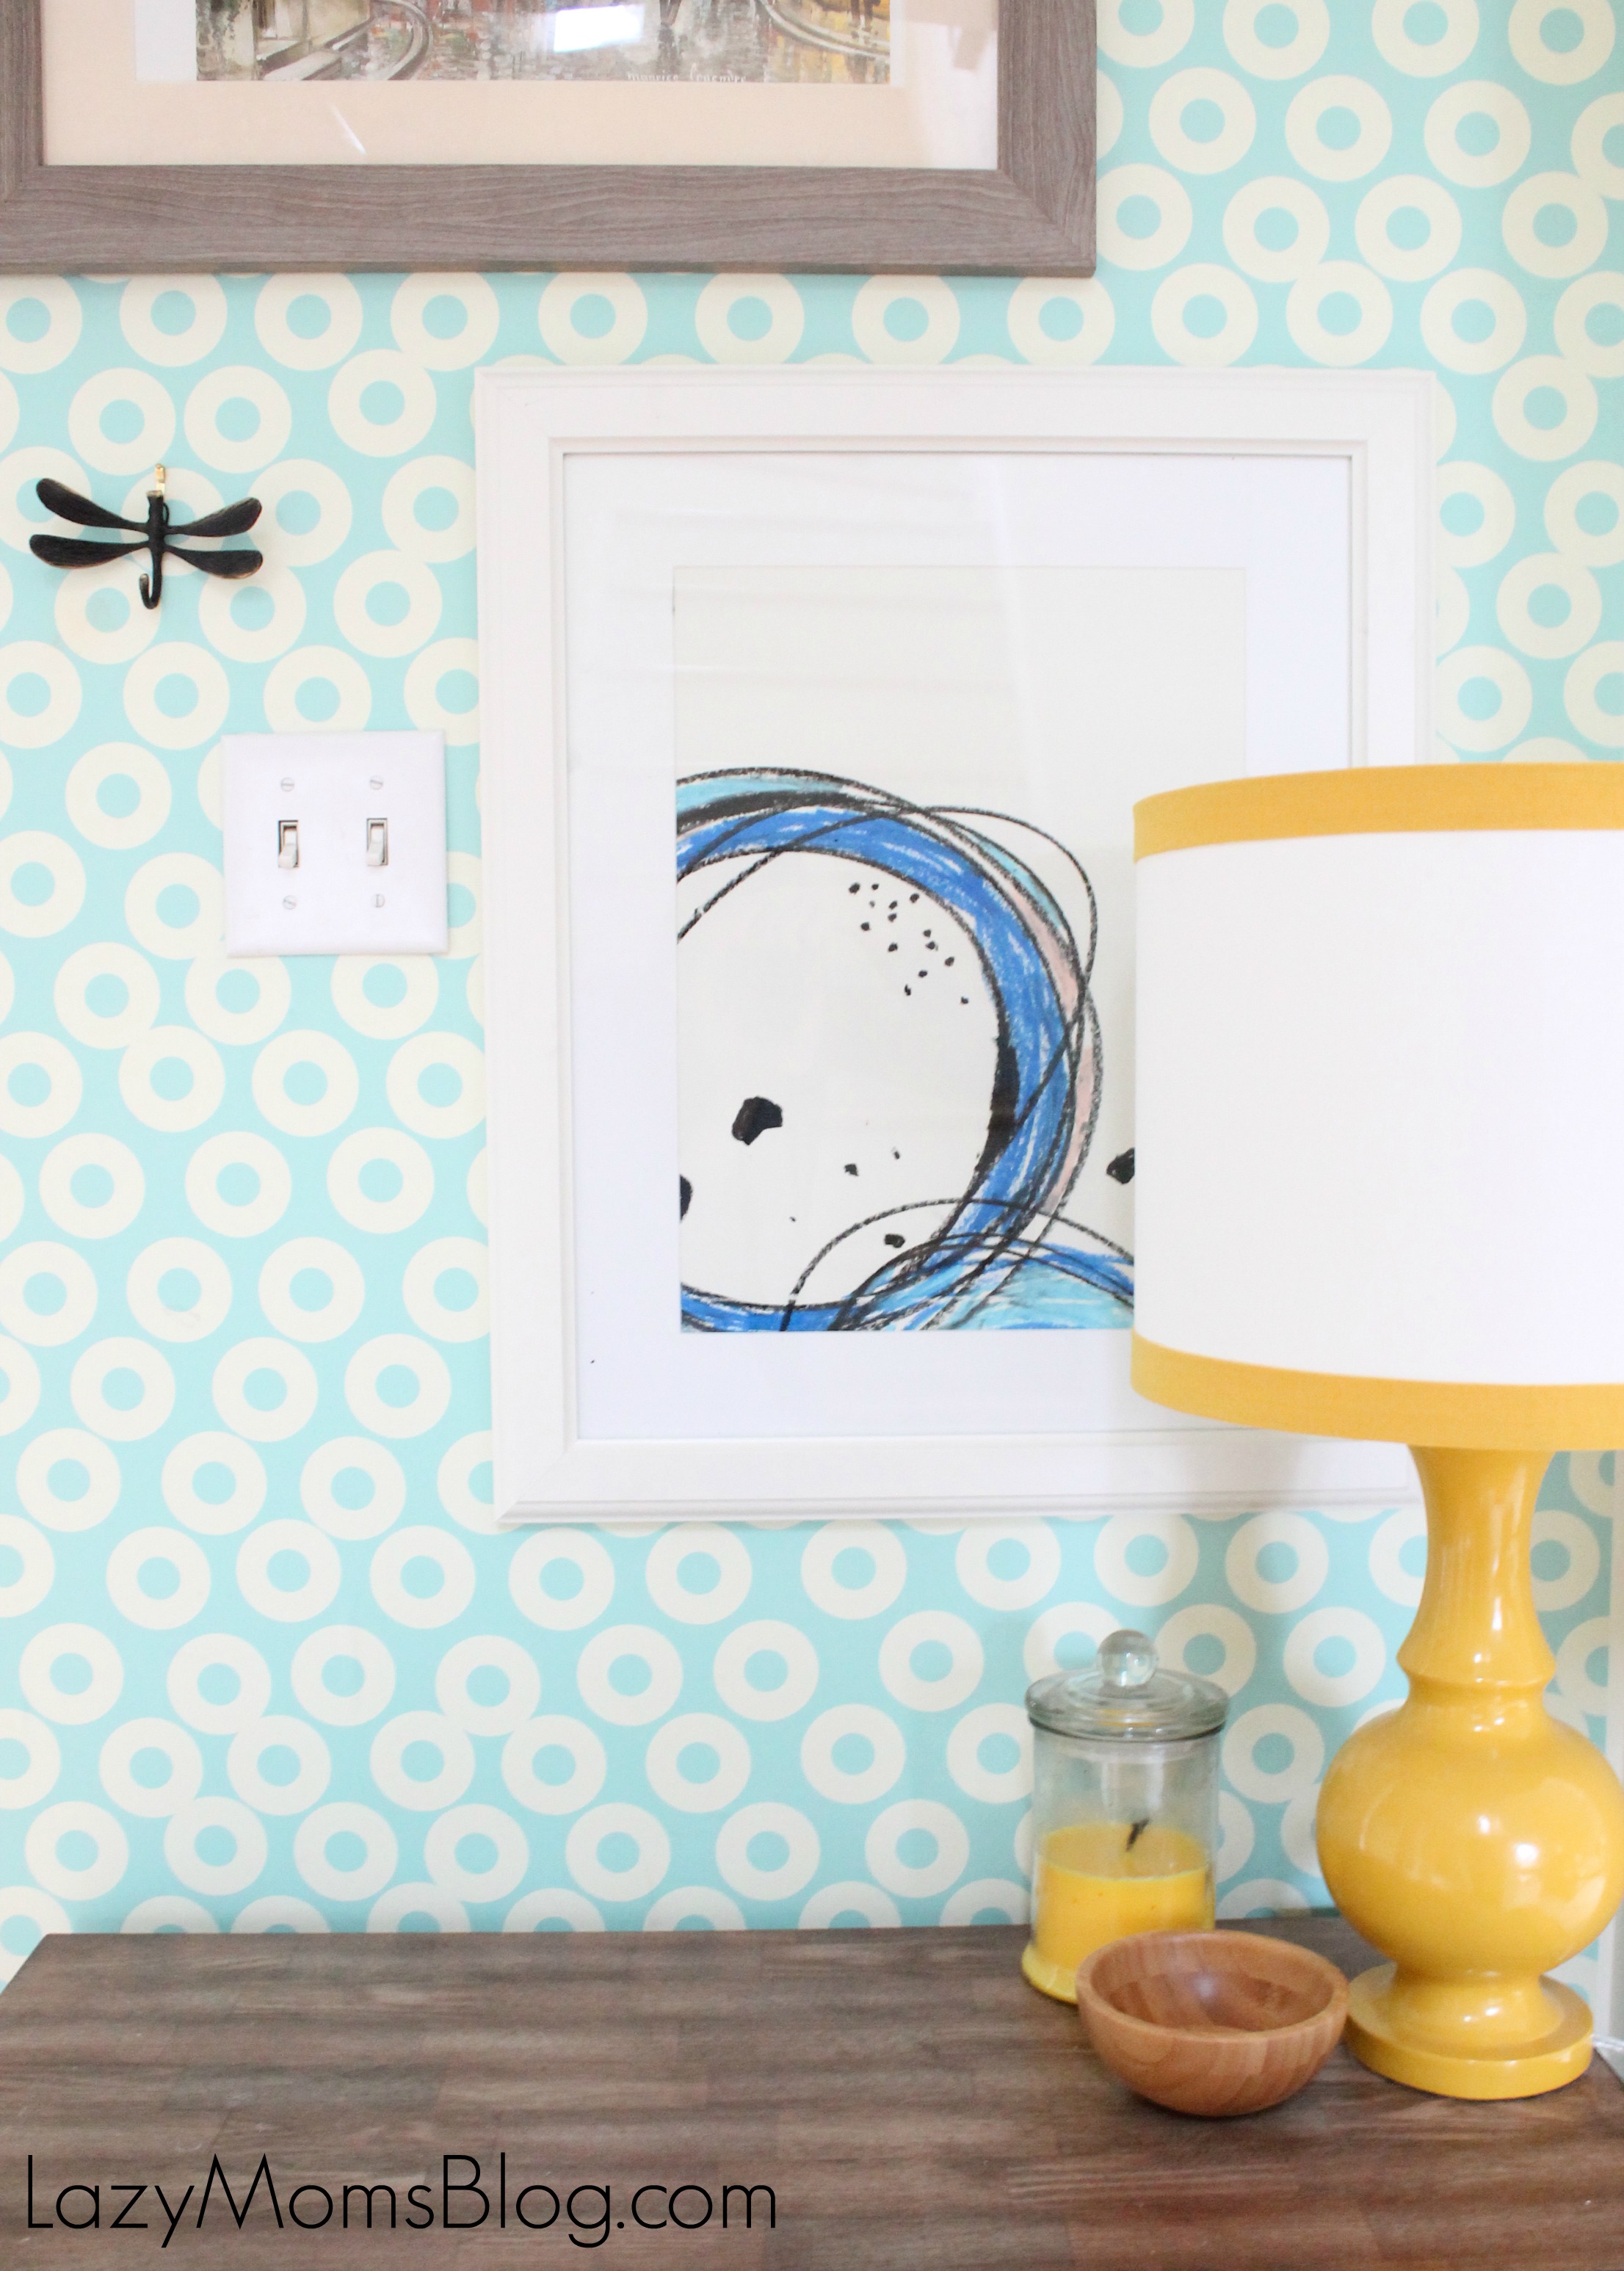
Oh, you don’t wan’t to deal with wallpaper? Nor do I! That’s why I didn’t use wallpaper but material called pixerstick! I got this peel-and stick gorgeous pattern from Pixers. One for my entry way and one (the pastel cloud wall) for my girls play room. The best part? It was already cut to fit my space, and it took me and my hubby not more then 2 hours to install it all ( yes, the big wall in girls playroom and all of the entry way).
And you wan’t to know what I love about it the most? It doesn’t mark walls, is super easy to just un-peel and take off , and there are literally hundreds of choices to pick from! Now that’s what I call a life hack!

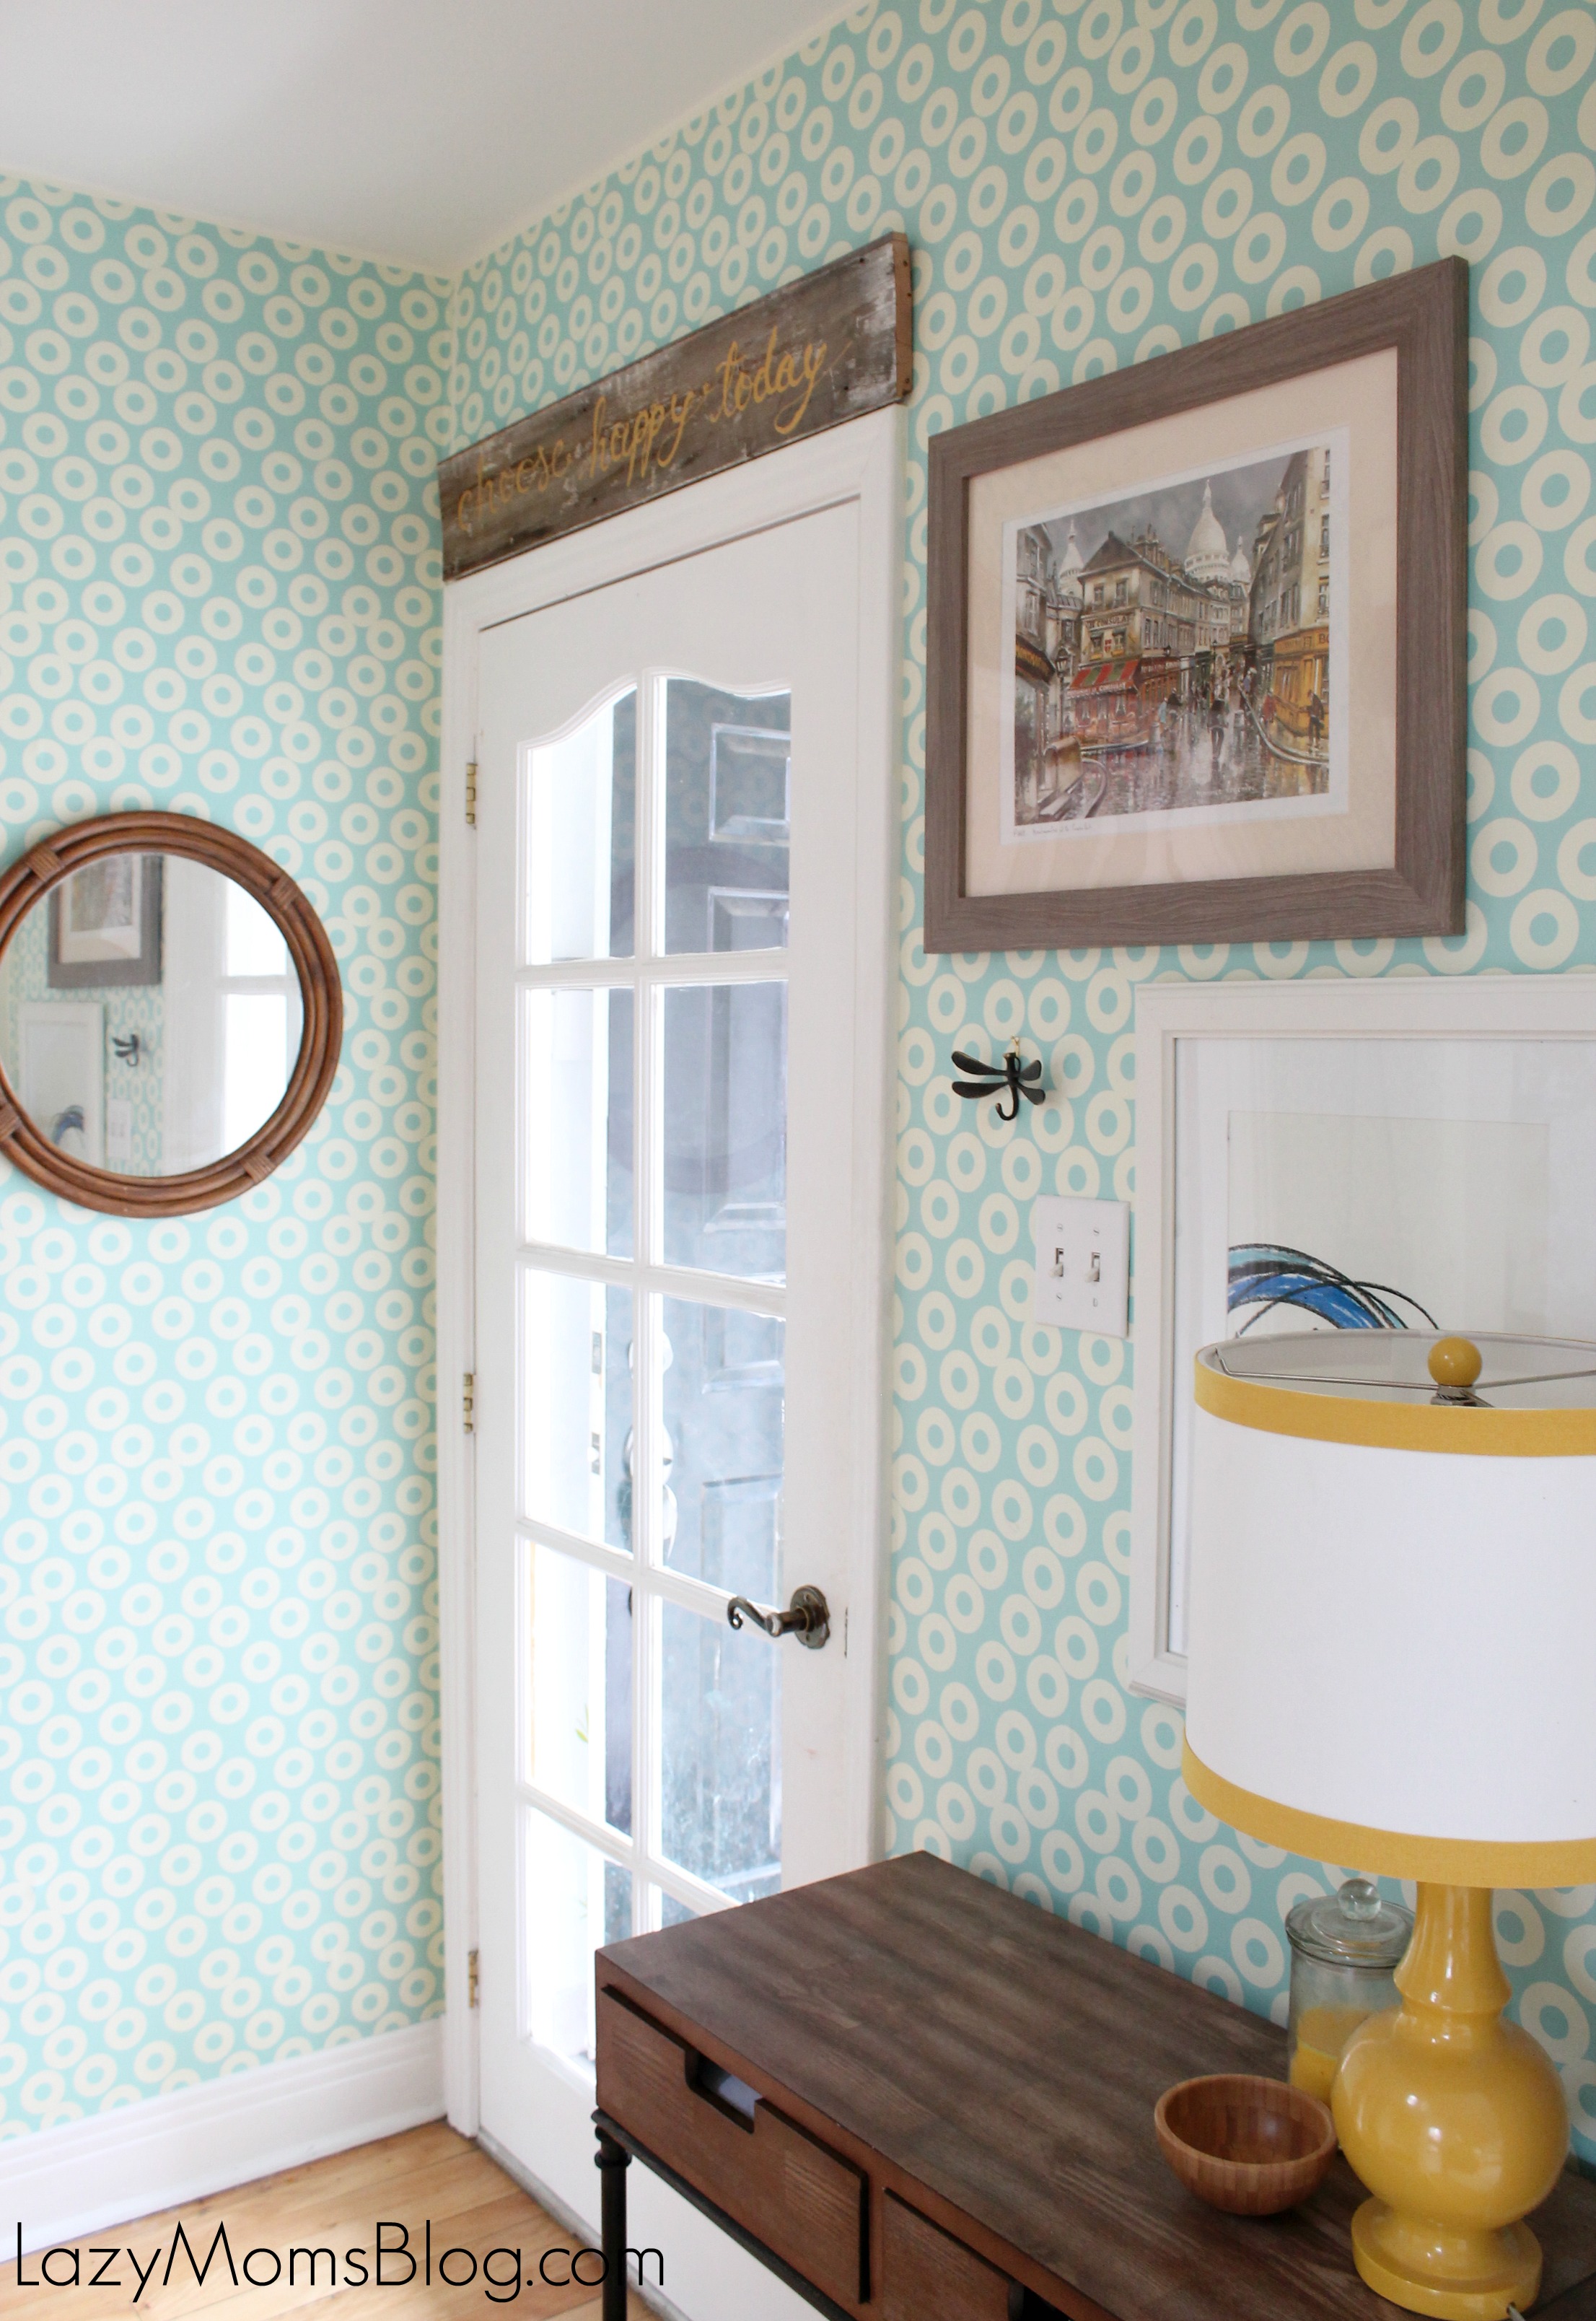
2. Use horizontal space
I would always put my purse, and keys on a little table, but when my hubby would add his pocket change, and my girls would add their hats, and I’d add some mail on top of it.. Well then there was a huge pile of mess. That’s why I added hooks! Now I’ll have a designated space for my purse and my scarf!
You could even add a hook for every family member and use that horizontal space to hang hats, keys or scarfs!
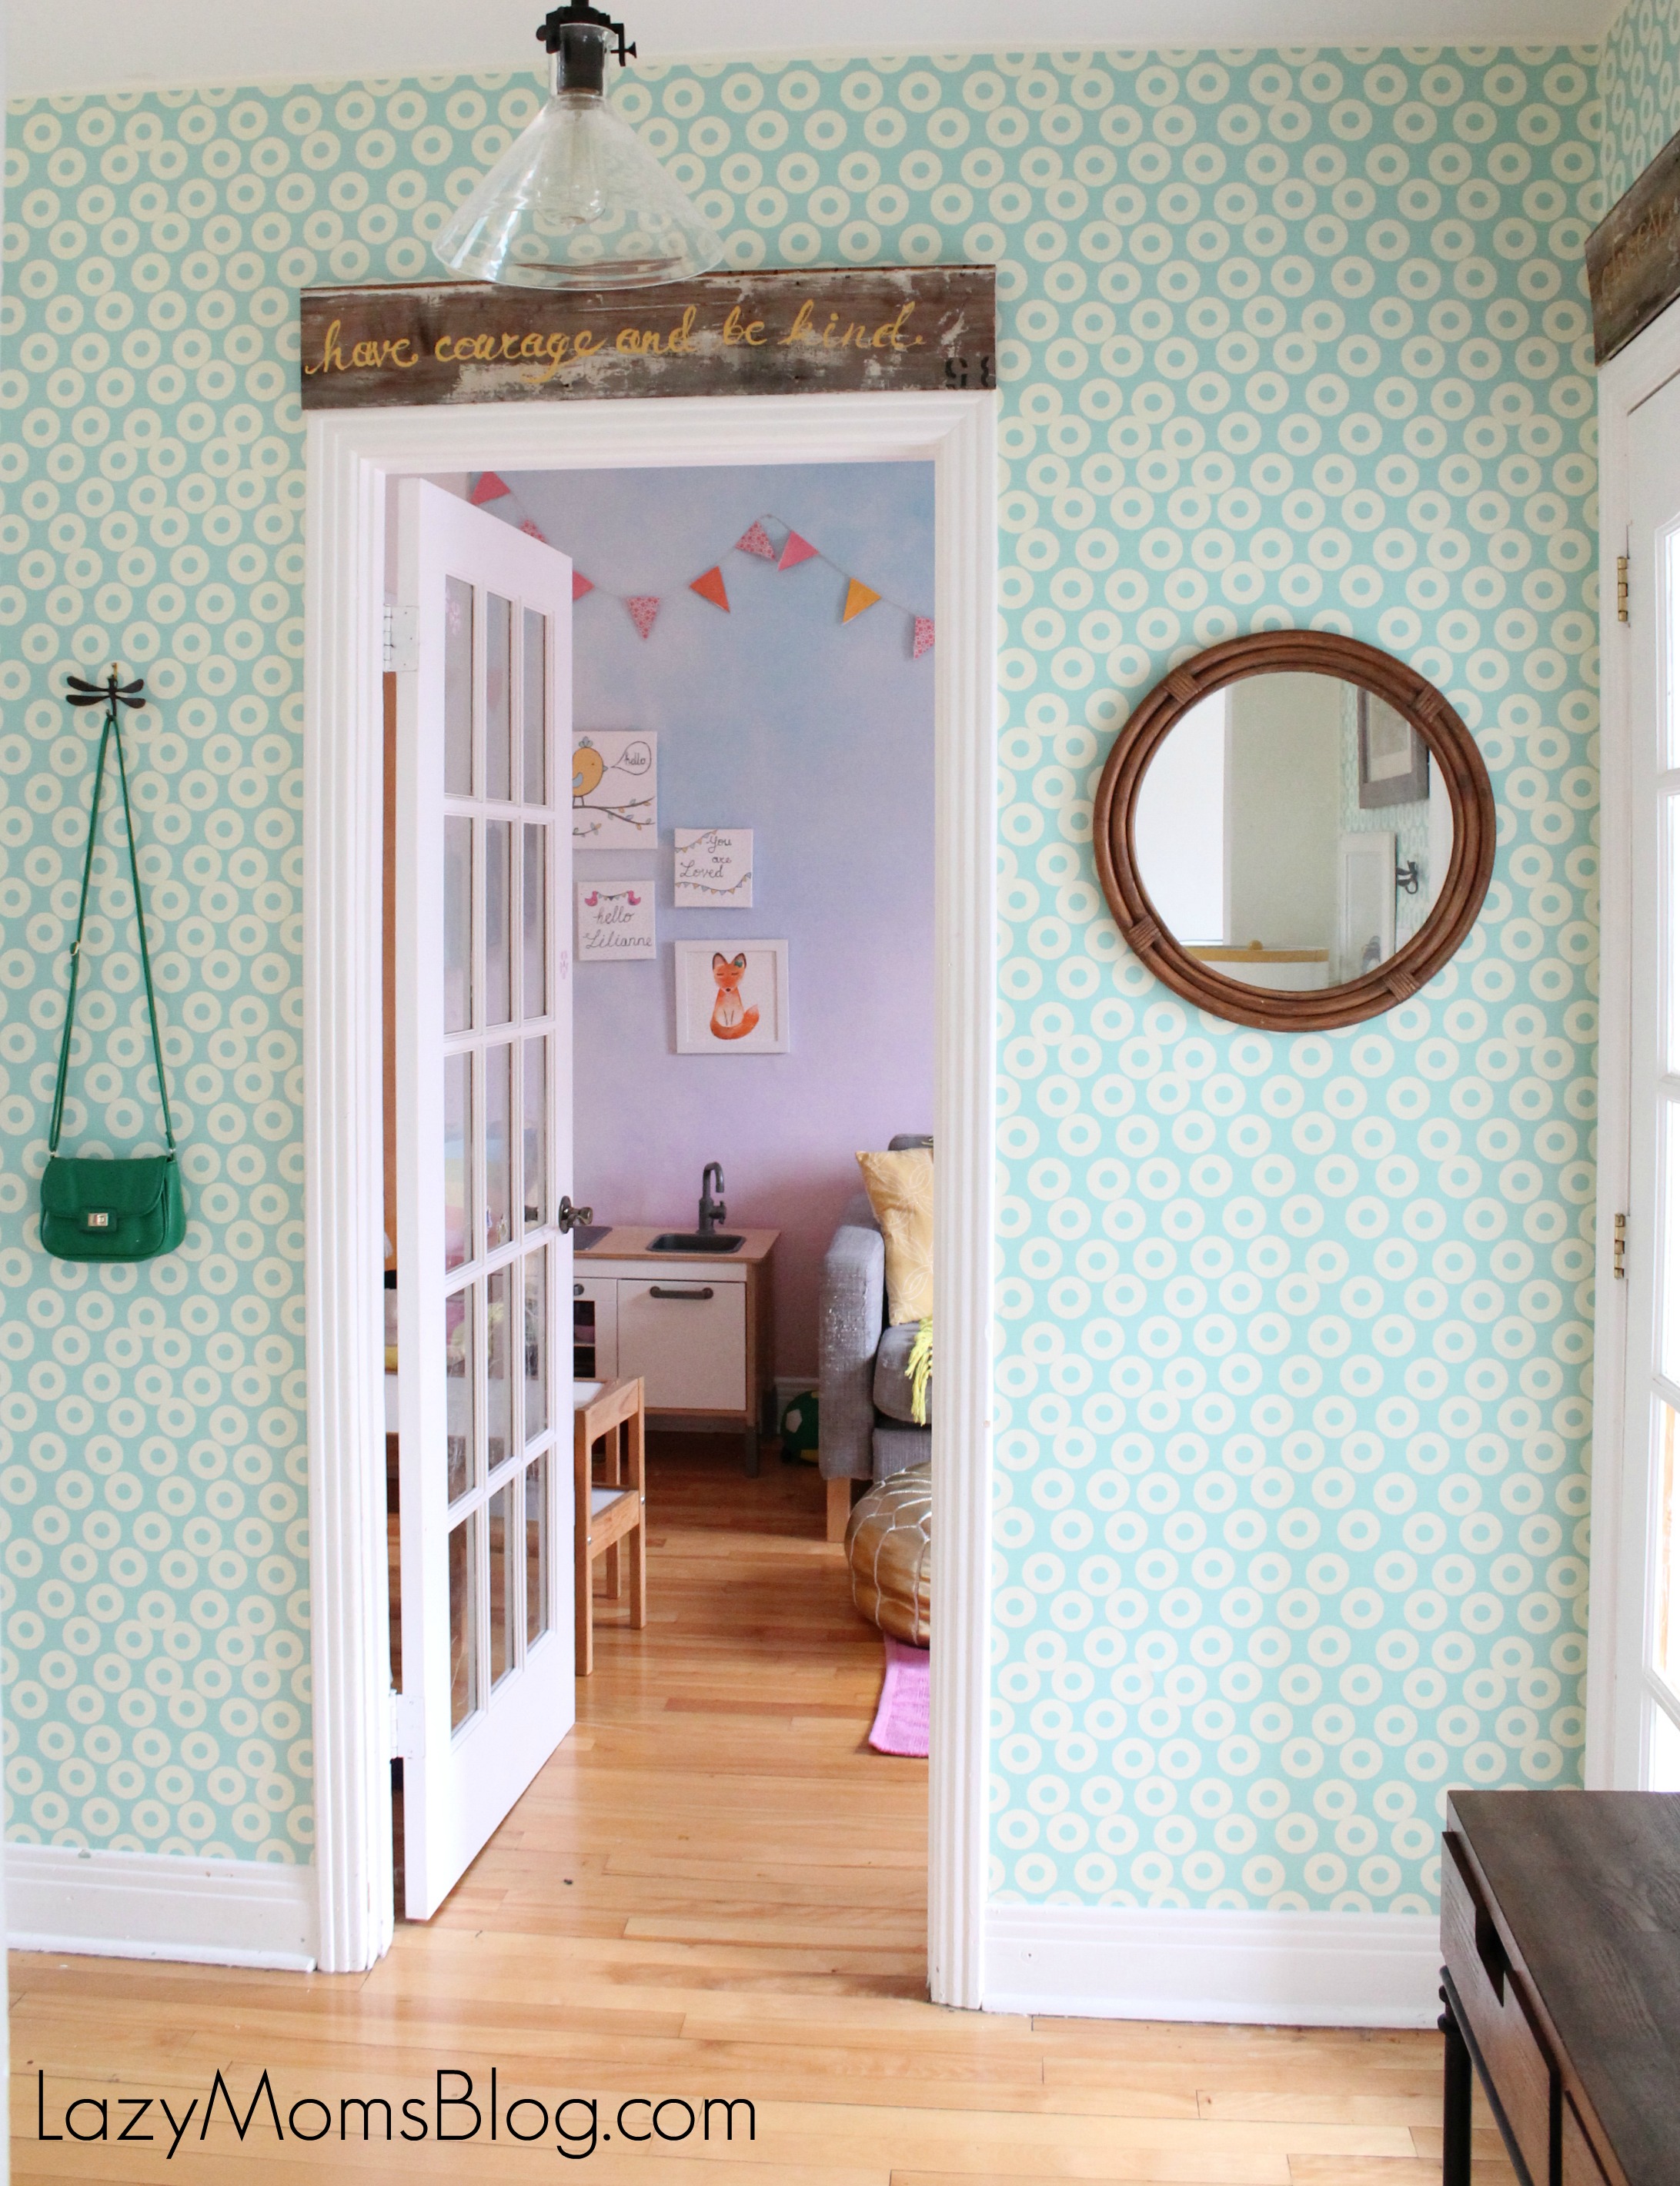
3. Add mirrors.
Mirrors really do make the space feel bigger! But look out: they’ll make your space look and feel bigger only if they reflect light!
Also, try playing with shapes! Round mirrors are on trend now and for a reason: they can add that vintage and playful look, or a sophisticated and elegant , all depending from the material they’re made of. So if you wan’t to go for the first one, choose brass or bamboo, and if you prefer the second, go for metallic or wood.

4. Add a gallery wall.
Even a small wall will look better with a gallery wall, and the higher you’ll hang your frames, the higher the eye will travel, giving the illusion of a bigger space!
Try mixing frames of different sizes and colors for an eclectic look, or go with one color but different sizes for a more classical finish. And if you’re going for a modern vibe like I did, hang a in-pair number of objects on the wall.
You don’t need to hang expensive art nigher: I used the same print I had, and I draw the abstract art with Pastel crayons.

5. Unify the space.
Every space feels better if the elements and colors repeat themselves.
So while painting the abstract art I tried to add in some blue hues to match the Pixers “wallpaper” sticker. And since the table I already had has a little rustic feel in to it, I decided to add two hand lettered wood boards, in order to add in more of that modern rustic feel. My hubby have cut old wood for me, and using my kids Ikea crafting paint I wrote these two quotes that I love!.
So now, I feel like not only my entry way got bigger, but also that I got a new personalized room altogether! And I hope that these tips will help you with changing things a bit in your home!
Disclosure: This post was brought to you by Pixers, all opinions remain my own.