How to start your first garden
It’s been a while since I wanted to start a garden, a real one, with fresh tomatoes, lettuce and strawberries. I was imagining getting up in the morning and picking up fresh fruits with my daughters for breakfast.

I know, I’m imagining a tv commercial, but I can’t help it, I still want us to get fresh produce from our garden! There was just two problems: squirrels living in my garden and a groundhog living in my neighbor’s garden. Apparently the squirrels are usually eating the tomatoes and the groundhog loves lettuce.
So we decided to build a raised bed, because it gets the job of stealing our food more difficult. And planting in a raised bed is easier on your back ( big point for me!). Also, by planting in a raised bed you don’t need to consider the quality of your soil because you basically put whatever type of soil you need inside.
- Building a raised bed :
Now, if you’d like to know if it’s difficult to make a raised bed, I’ll tell you that it looks quite easy! And my husband says it really is, especially if you have the right tools and someone to help you. Well, if it would be me trying to make one, I don’t think it would take only a few hours.
Supplies:
- Wood for the sides. We recycled old 6 in. cedar siding for it’s mold resistance, but you can do it with 2×8 or 2×12 lumber of hemlock. Pine and spruce are not recommended.
- some extra 2×4 for the corners, or corner brackets
- geotextile fabric
- earth, a lot of earth
Tools:
- A Saw
- A Drill
- 2-Inch Screws
First, decide what dimensions you need and start cutting your lumber. Keep the bed width below 4 foot to avoid stepping inside to maintain it. Cut small pieces of 2×4 to hold the corners.


The recycled planks required a bit more assembling… and pre-drilling to avoid cracking. We used 2 screws per plank at each joint and corner.


Once everything is assembled, you can stain it for the look, but we decided not to.

To prevent tree roots and grass from traveling up your soil and competing with your vegetables, lay a geotextile fabric at the bottom of your box.

Building is done! Now just fill it with rich soil that is at least 25% compost.
2. Starting seeds and planting:
Instead of spending money on little degradable pots, I think it’s better to use an old egg container. All you need to do is to pierce the bottom of every egg hole ( for draining ) and then just put some rich soil and a seed. Water every day, and keep in a sunny spot. Seedlings need at least 6 hours of direct light a day!
The best time to plant outside is when the temperature gets warm, and there is no danger of frost (that might kill your seedling).
Also, don’t plant veggies that grow high next to veggies that stay low ( like tomatoes and strawberries) because they might hide the sun from each other.
And make sure that you have good quality, rich soil! Check with your local garden store if they deliver large quantities of garden soil, they might have a much better price then a hardware store that sells soil in bags!

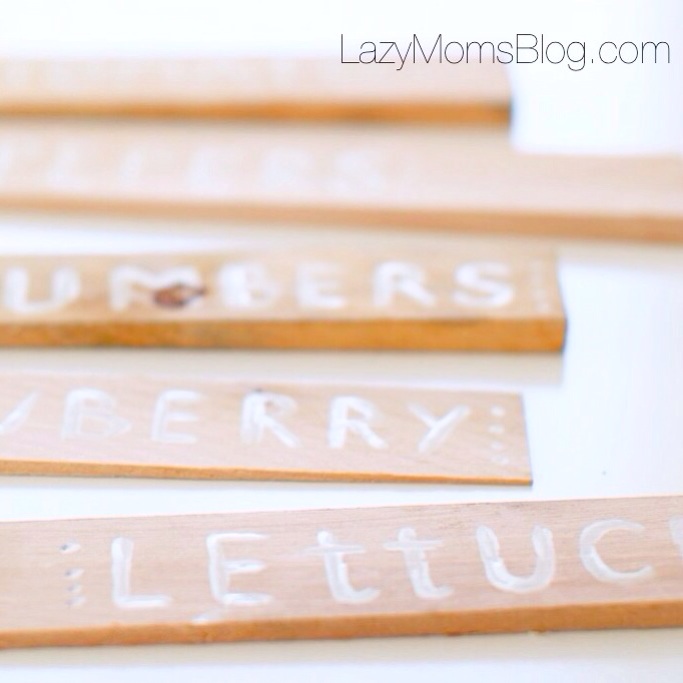
3. Making garden markers:
Get some wooden planks and paint them. Or let your kids do so. If they can’t spell, they could try drawing the plant that you’re growing (although it might be unrecognizable 😉 ). So the safest way to know what you’ve planted and where is to actually write it.


Of course now, my little helper is asking me all the time if the cucumbers and tomatoes are ready, and every day after breakfast we need to check if the groundhog ate our lettuce. No, he did not. But we will add a net, just to make sure!
Are you thinking about starting a vegetable garden? If you already did, why are your tips and tricks to keep the pests off?