Your most common Cricut questions answered
This is a sponsored post written by me on behalf of Cricut for Cricut. All opinions are 100% mine.
Your most common Cricut questions answered
Ever since I bought my first Cricut machine last year I became pretty much obsessed with it. So much that I made most of my hand made gifts with it for Christmas last year, followed by updating my and my kids wardrobe in the winter months followed by a plan to open an Etsy shop with my hand made creations later this year!
Yes, I’m a Cricut obsessed blogger now, and a proud owner of two beautiful machines- Cricut Air 2 and Cricut Maker. And while there’s still so much I can learn, I have become acquaintance with them pretty fast- and today I want to answer all of your questions!

Let’s start with the most common one:
1.Is a Cricut Maker worth the price?
I bought my first Cricut machine- cricut Air 2- in early December last year as a gift from me to me – and I can honestly tell you that yes it is! Why? Because the possibilities of crafting (or making products for sale) with your Cricut Air 2 ( or Cricut Maker) are ENDLESS. The end result always looks professional. And crafts that used to take me hours, or where way beyond my skill level, now take me fraction the time and I can make all the things I used to buy at Etsy before!
2.What kind of DIY projects can I make?
If you get yourself a Cricut Air 2 you can make beautiful cards and paper goods: from banners, to fancy cake toppers to paper mobiles to cardboard projects to giant paper flowers. You can make all sorts of vinyl projects: like wall decorations, organizing etiquettes, wood signs and decorative pieces. You can put vinyl monograms on glasses and tumblers, or personalize water bottles. You can make iron on projects: t-shirts with quotes, personalized baby onesies, matching mommy and me t-shirts. You can also use it to cut out felt for hair bows or felt flowers for decor projects ( like wreaths, personalized banners or mobiles).
And if you get yourself a Cricut Maker than you can do ALL THAT plus: you can use your machine to cut patterns out of fabric for sewing ( from dolls, to kimonos, to dresses, here the possibilities are endless). You can use your Maker to cut through faux leather and make baby moccasins , leather earrings or hair bows. You can use it to cut through thin wood and make personalized puzzles, 3D sculptures, state wood signs, coasters etc. You can cut through thin metal and make jewelry! Thanks to an engraving tool, you can cut out your own jewelry pieces and monogram them! I will repeat myself, but again, the possibilities are endless!
3.Will it be easy for me to learn the software to make projects?
Yes. It’s very intuitive in my opinion. It took me one afternoon of trial and error and I was able to make my first projects with it. There’s tons of great step by step videos on the Cricut platform too, for anything from the basic vinil project to more complicated crafts, all with step by step explanation. And there’s a ton of youtube videos too!
And, you can have access to the Design Space ( Cricut software) from your laptop, ipad or your phone- so even if you’re on the go and want to make a last minute birthday card, you can access the software from the application on your phone and have a card ready in minutes!
4.What materials can I cut?
As I mentioned before, the list is really long! You can cut through:
- paper
- thick paper
- cardboard
- vinyl
- iron-on vinyl
- felt
And if you get a Cricut Maker you can cut through all that AND:
- material
- faux leather
- thin wood
- thin metal
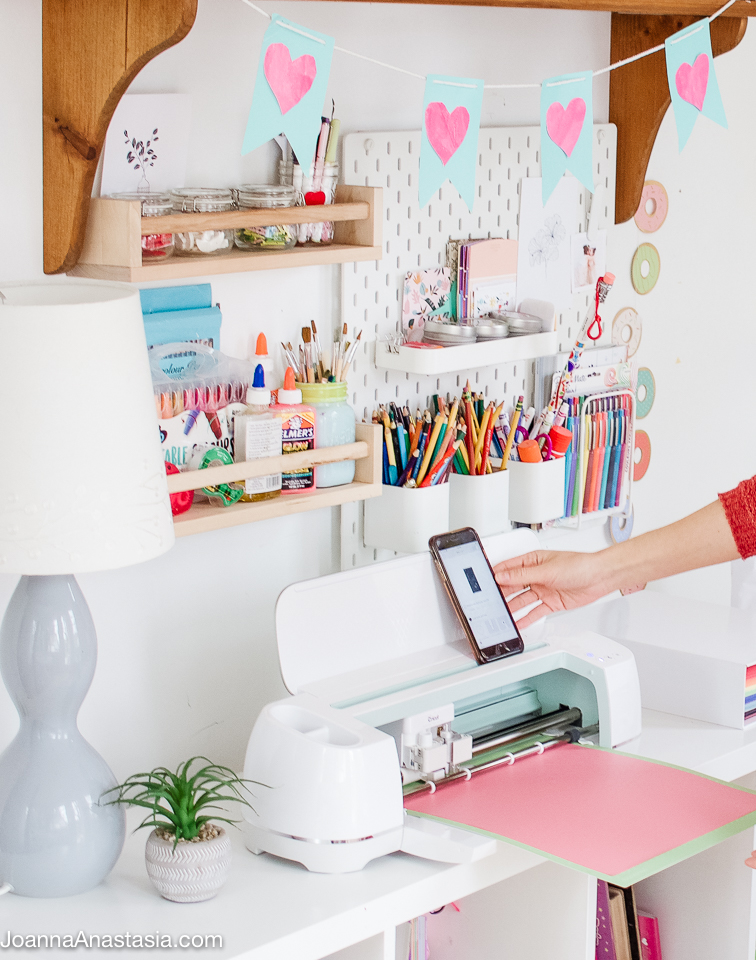
5.Is it easy to use a Cricut?
Yes. It took me one video to understand the steps. Basically they all go down to:
- Choose a project you want to work on in Design Space ( Cricut software)
- Choose your material ( let’s say it’s vinyl)
- Put your vinyl on a loading mat
- Load the mat into your Cricut
- Choose a right cutting setting ( the software will guide you)
- Press ON ( machine will start cutting)
- Unload the mat ( press a button)
- Pull out the cut material from the mat
- Transfer it on the project / finish your project

Depending from the material used ( vinil, paper or wood) you’ll use different mat, different cutting tool and different cutting option. But the good news is that the software will guide you through all the steps and after one -two projects you’ll remember which material goes with which cutting tool.
I hope I have answered all your questions today! And if you’ll be looking for me you know where you can find me- by my Cricut in my crafting space, creating and making new things!

Disclosure- this post was written in collaboration with Cricut, however all of the opinions, enthusiasm and thoughts remain entirely my own and are based on my own experience.